Converting Photos to Grayscale for Laser Engraving
Photo engraving quality depends on proper grayscale conversion and dithering algorithm selection. Different materials and image types require specific preprocessing techniques.
Why Grayscale Conversion Matters
Laser engravers cannot reproduce color—they only control burn depth through power and speed variations. Converting color photos to grayscale determines how colors translate to shades, which directly affects final engraving appearance.
Standard RGB-to-grayscale formulas use weighted averages: 0.299R + 0.587G + 0.114B matches human eye sensitivity. Green dominates perception, so green-heavy images appear brighter in grayscale. Red and blue contribute less to perceived brightness.
Alternative conversion methods exist: desaturated (averaging RGB equally), luminosity (advanced perceptual), channel-only (using single R/G/B channel). Each produces different tonal distributions. Portraits benefit from luminosity conversion preserving skin tone gradations. High-contrast graphics work with simpler desaturation.
Pre-conversion adjustments improve results: increase contrast 15-25% to compensate for laser's limited dynamic range, adjust brightness to prevent blown highlights or blocked shadows, sharpen slightly (unsharp mask at 75-100%) to enhance edge definition lost in engraving process.
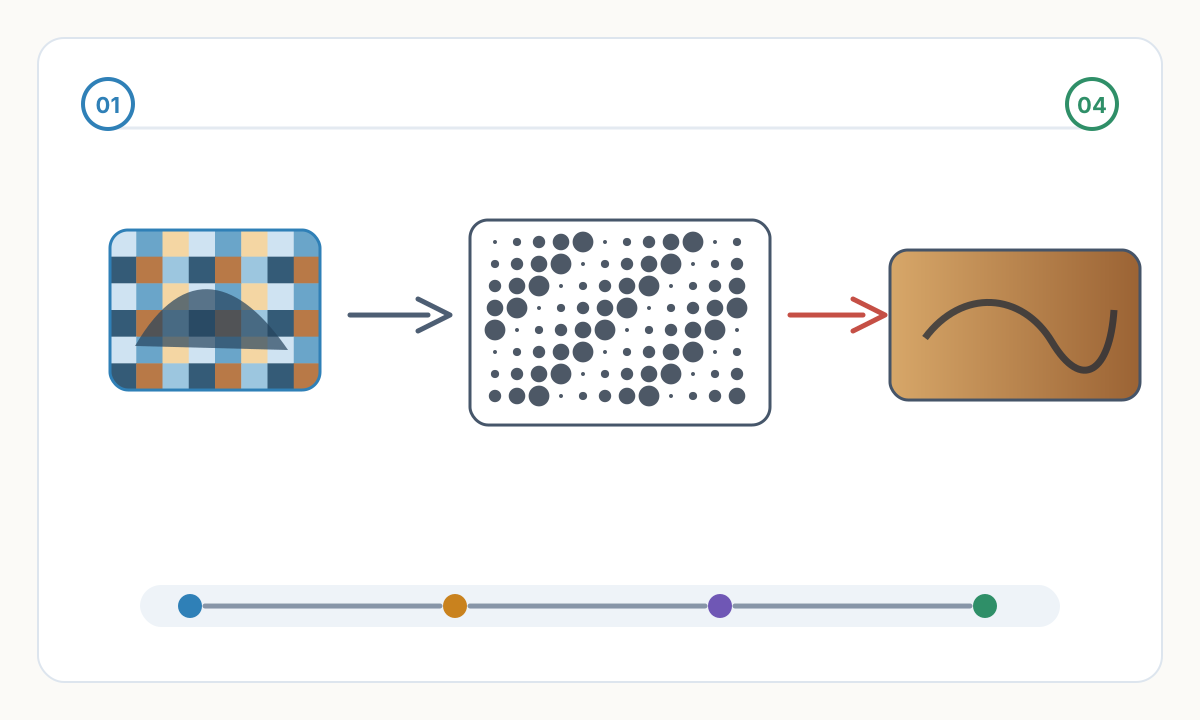

Dithering Algorithms Explained
Dithering converts smooth grayscale tones into patterns of dots the laser can reproduce. Continuous tones don't exist in laser engraving—only present/absent burn marks. Dithering creates illusion of gray through dot density variation.
Stucki dithering (error diffusion): Distributes quantization error to neighboring pixels in specific pattern. Creates natural, organic appearance resembling newspaper halftones. Works well for portraits and photos with subtle tonal transitions. Computational pattern spreads error across 12 surrounding pixels.
Jarvis-Judice-Ninke dithering: Alternative error diffusion with wider distribution pattern (48 surrounding pixels). Produces smoother gradients with less pattern visibility at distance. Better for large-format engravings viewed from far. More processing intensive but higher quality on detailed images.
Floyd-Steinberg dithering: Classic algorithm, faster processing, distributes to 4 pixels. Acceptable for simple graphics but visible diagonal artifacts in photos. Suitable when speed matters more than quality.
Ordered dithering (Bayer matrix): Regular pattern, very fast, consistent results. Creates visible crosshatch pattern. Best for technical drawings, text, QR codes—anything non-photographic. Predictable behavior across materials.
Photo Preparation Workflow
- 1
Evaluate Source Image Quality
Minimum 300 DPI at intended engraving size. Sharp focus throughout—blur doesn't improve in engraving. High dynamic range with detail in both shadows and highlights. Clean, noise-free image (camera grain becomes ugly speckles when engraved).
- 2
Crop and Compose
Remove unnecessary background elements—laser time costs money. Compose for rectangular format (most laser beds). Center subject with breathing room. Consider grain direction for wood engravings.
- 3
Adjust Levels and Contrast
Histogram should span full range without clipping. Increase contrast 15-25% beyond normal—lasers compress tonal range. Adjust curves to preserve shadow detail and prevent blown highlights. Mid-tones should be slightly brighter than on-screen.
- 4
Convert to Grayscale
Use luminosity method for portraits (preserves skin tones). Desaturate for landscapes and objects. Check individual R/G/B channels before conversion—sometimes one channel provides better starting point. Compare conversion methods side-by-side.
- 5
Apply Dithering
Stucki for portraits and organic subjects under 12 inches. Jarvis for large formats over 12 inches or architectural photos. Test on scrap material first—dithering appearance varies dramatically between wood types, acrylics, leather.
- 6
Save in Correct Format
PNG or TIFF at original resolution—avoid JPEG compression artifacts. 1-bit black/white after dithering (not grayscale). Final file size small (100-500KB typical) despite high resolution—dithered images compress well.
Material-Specific Considerations
Hardwood (maple, cherry, birch): Uniform grain accepts fine dithering well. Stucki at 300-400 DPI produces photographic quality. Light woods engrave darker (more contrast). Test burn reveals optimal power/speed before full run.
Softwood (pine, cedar): Inconsistent grain causes uneven burning. Jarvis dithering with slightly lower DPI (250-300) compensates for grain variation. Resinous areas burn differently—pre-seal with shellac for uniform results. Expect less detail than hardwood.
Plywood: Glue layers engrave at different rates. Lower DPI (200-250) and higher contrast hide layer transitions. Baltic birch plywood most consistent for photo engraving. Avoid construction-grade plywood—excessive grain variation ruins detail.
Leather: Natural grain texture adds organic quality. Stucki dithering at 350+ DPI on vegetable-tanned leather. Chrome-tanned leather produces chemical smell and poor contrast. Always ventilate—leather fumes toxic. Test corner first—leather burn depth varies by thickness and treatment.
Acrylic: Frosted finish from engraving appears white on clear or tinted acrylic. Reverse image (whites become material color, blacks become frosted). Lower DPI (200-300) sufficient—acrylic engraving smoother than wood. Back-fill with paint/ink for enhanced contrast.
Verification checklist before production
- Confirm final size, units and orientation in the destination software
- Inspect the file for hidden, duplicate, or irrelevant geometry
- Run a small material or test engraving before full production
- Save the approved settings, source file and exported production file together
Comments
Loading comments...