Free Halftone Generator for Laser Engraving and Perforated Panels
Upload a photo and get halftone dots at the exact width you enter. Engrave them from an SVG or 1-bit PNG, or cut a perforated panel that shows the photo against the light.
- Dot spacing set from your laser's burn width, with no dot too small to burn
- Round, square or diamond dots, or lines, on a square or hexagonal grid at any angle
- Perforated panels with your smallest hole and bridge sizes and a solid border
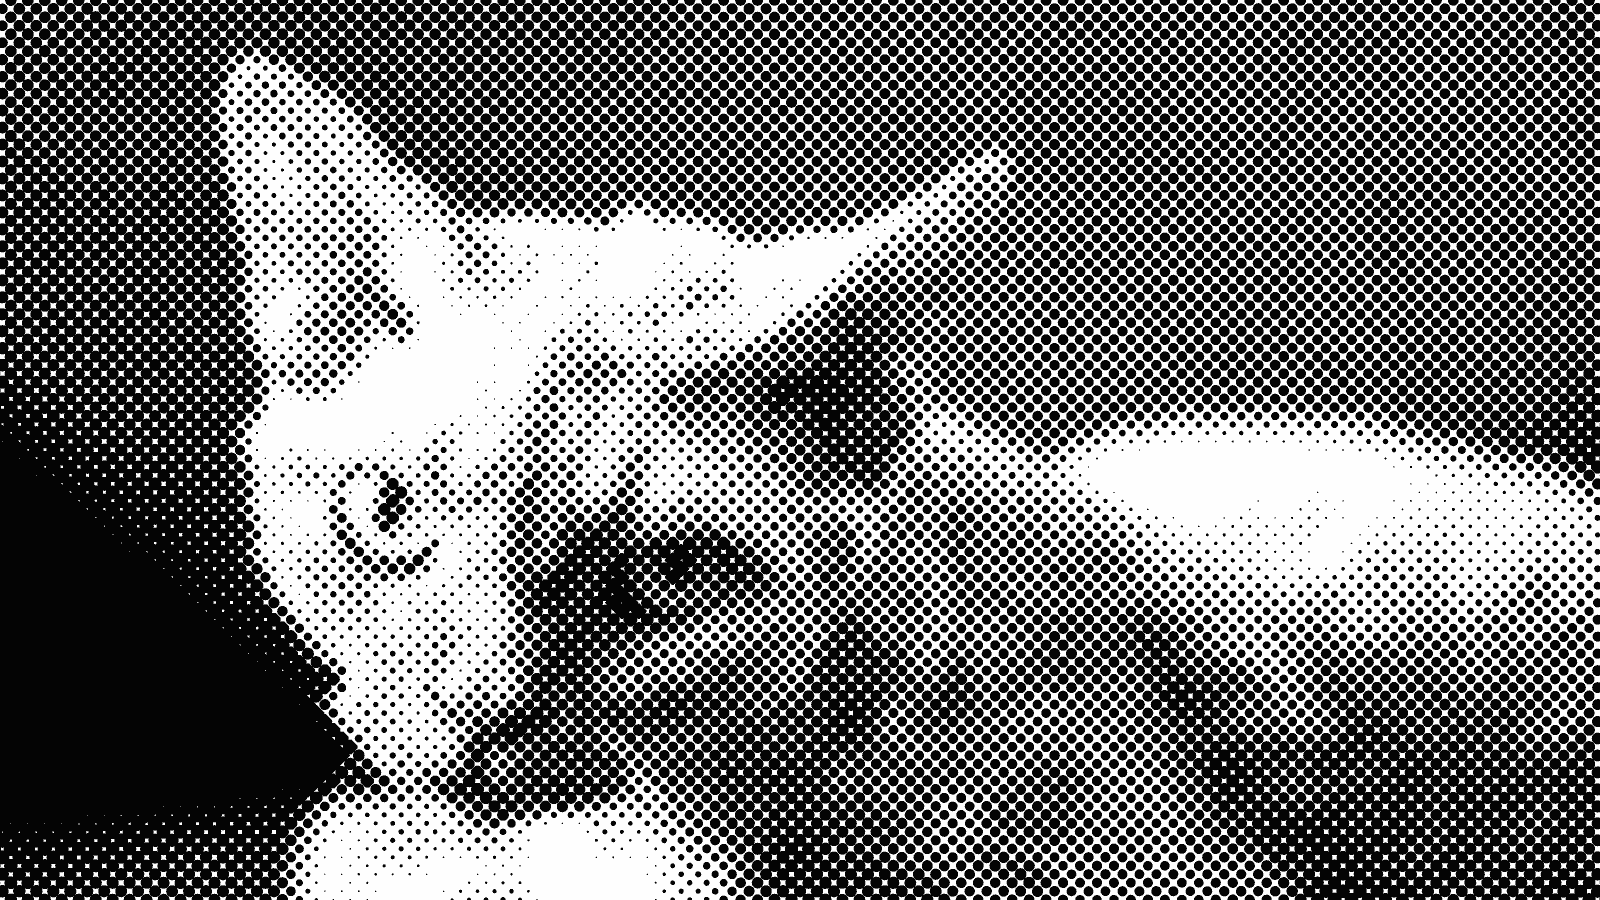

How a photo becomes halftone dots
A halftone puts one dot in each cell of a grid: where the photo is 30% dark, the dot covers 30% of its cell. Spacing starts at four times your laser's burn width, and the lightest areas keep a few dots of the smallest size that burns. Wider spacing gives bolder dots and less detail; a hexagonal grid fits more dots into the same area.
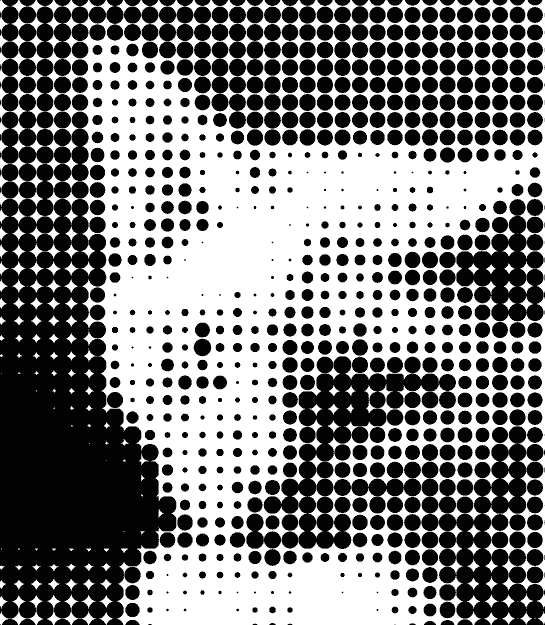
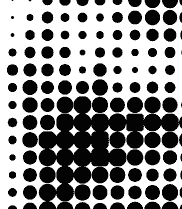
Round dots
The classic newspaper look and a good first choice. On a square grid, neighboring dots start to touch at about 79% dark.
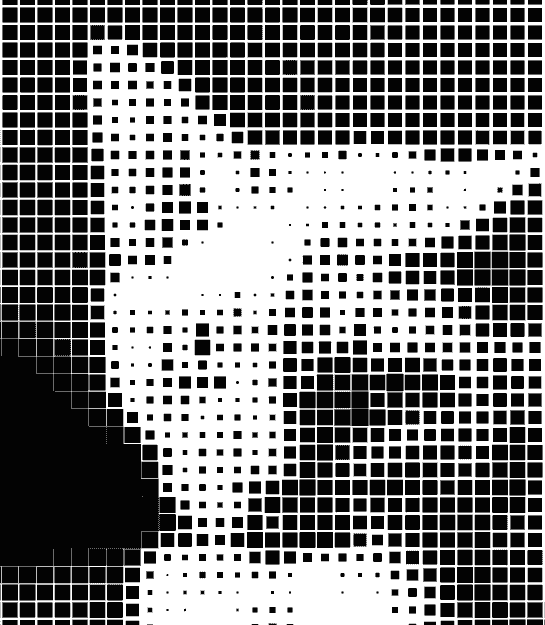
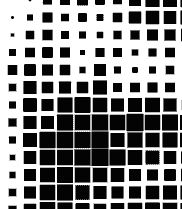
Square dots
They stay apart until the darkest tones, so shadows keep a fine grid of white lines. A bold, graphic look for large pieces.
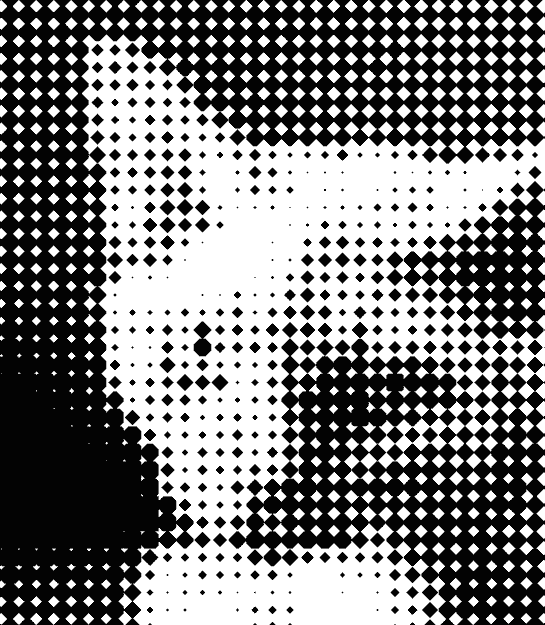
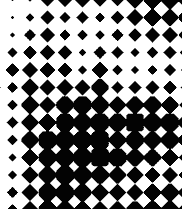
Diamond dots
Their corners meet at 50% dark, which forms a checkerboard in the mid-tones.
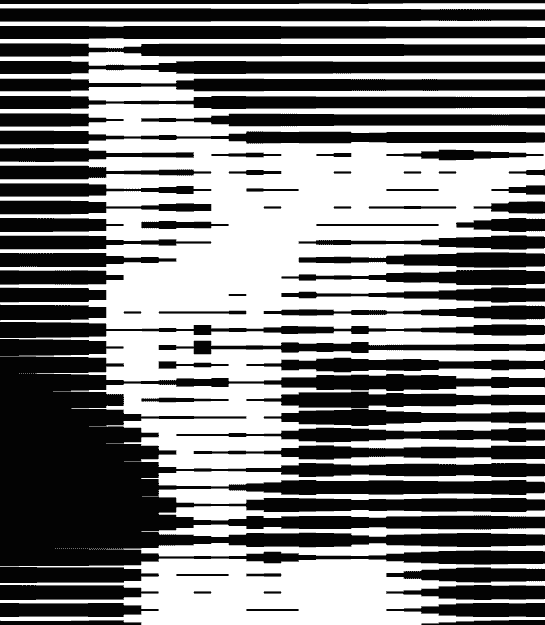
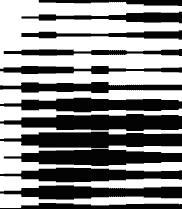
Lines
Each grid row becomes one line that widens where the photo is dark. For engraving only: cut panels use round, square or diamond holes.
Why make halftones with Laserlinez
Input - JPG or PNG
Portraits, pets, flowers and buildings. Photos with strong light and shade read well as dots.
Machine - your laser's burn width
Pick your saved laser, one of 17 presets or a generic diode or CO₂ laser. It sets the dot spacing and estimates the job time.
Output - SVG, PNG or DXF
You get dots to engrave or holes to cut, at the exact width you entered.
Privacy - in your browser
Your photo is converted on your device and not uploaded. No watermark and no limit on photos.
What you download
SVG - SVG in millimeters
Engrave: filled dots on an ENGRAVE layer, for LightBurn's Fill. Panel: holes on CUT_HOLES and the outline on CUT_OUTER.
PNG - 1-bit PNG
The dots as pixels at your laser's DPI. It imports at its real size, and LightBurn engraves it with Pass-Through.
DXF - DXF (R12)
For cut panels, in millimeters: round holes as true circles, on the same layers as the SVG. Opens in LightBurn and CAD software.
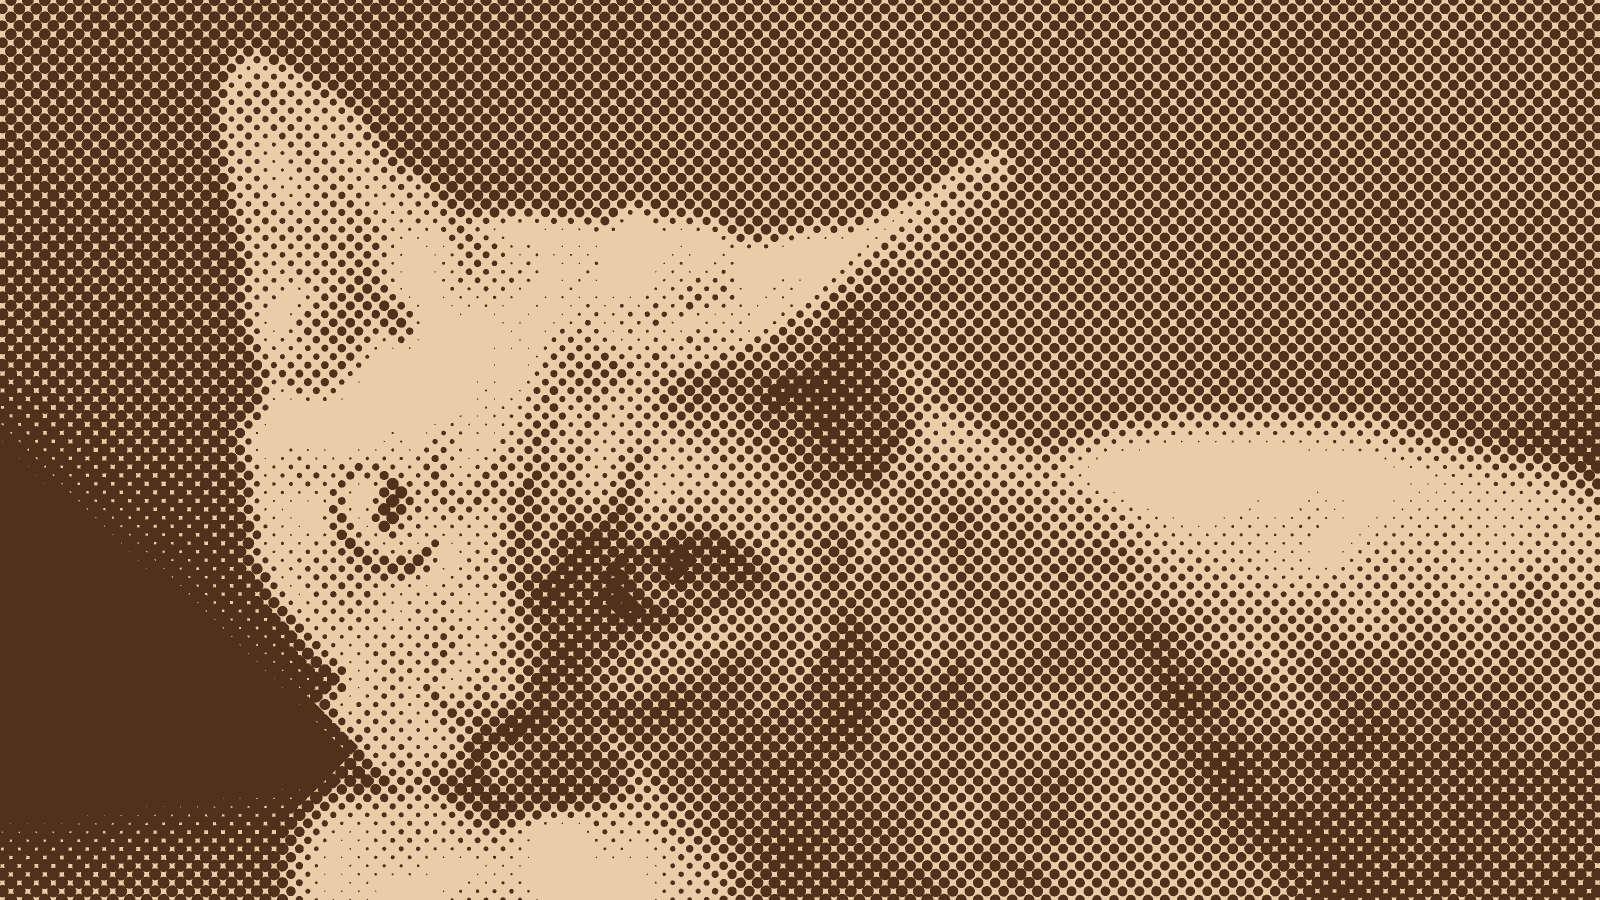
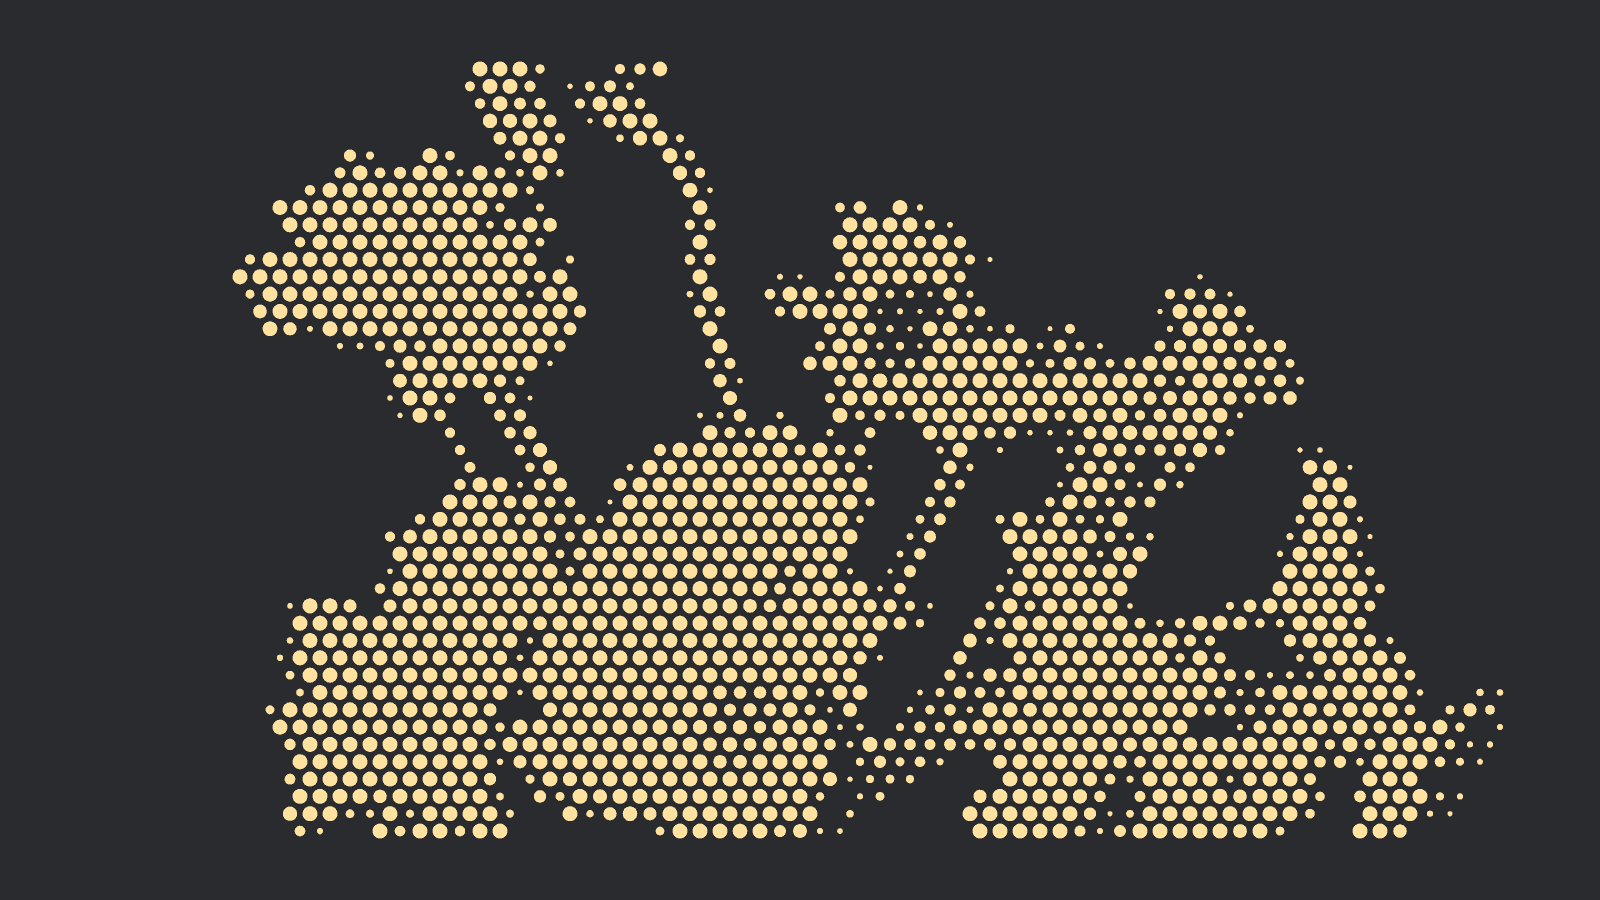
Engraved halftone dots and a perforated panel
One tool, two results: engraved dots on wood, or a panel whose holes are largest where the photo is light. Both pictures are simulated.

How it works
- 1
Upload a photo
Use a JPG or PNG, cropped to the area you want.
- 2
Choose Engrave or Cut a panel
Pick your machine and the width in mm, then set spacing, grid, angle and shape with a live preview.
- 3
Download, then engrave or cut
Download with a free account. In LightBurn, engrave the SVG with Fill and cut a panel's holes before its outline.

Need sharp contours or vector lines instead of dots?
Popular halftone projects
Halftone portraits on wood
On birch or maple, start with round dots at the suggested spacing. Widen it for a bolder pattern that reads from across the room.
Halftone lines on a grid
The grid stays visible, as in a printed halftone. For smooth lines, a spiral or rings, use Line Screens.
Halftones on slate and anodized aluminum
The laser marks slate and black anodizing light, so this link turns on Invert and starts with diamond dots.
Perforated metal panels and privacy screens
Cut steel with a fiber laser or a cutting service, or plywood with a CO₂ laser. Holes and bridges start at 2 mm, for 2 mm sheet.
Lampshades and light boxes
Cut thin plywood or cardstock and light it from behind. The link starts with 1.5 mm holes and bridges, for sheet up to 1.5 mm.
Halftone or dithering?
Halftone dots change size on a visible grid. Dithering scatters same-size dots, and the guide shows when to use which.