Free Spiral and Line Screen Generator for Lasers and Pen Plotters
Upload a photo and redraw it with one pattern of lines whose width or wiggle follows its tones, for laser engraving or a pen plotter.
- Spiral, rings, waves or straight lines at any angle
- Lines that thicken for laser engraving, or one wavy stroke per line for pen plotters
- SVG and DXF at the exact size, with lines cut flat at the edge
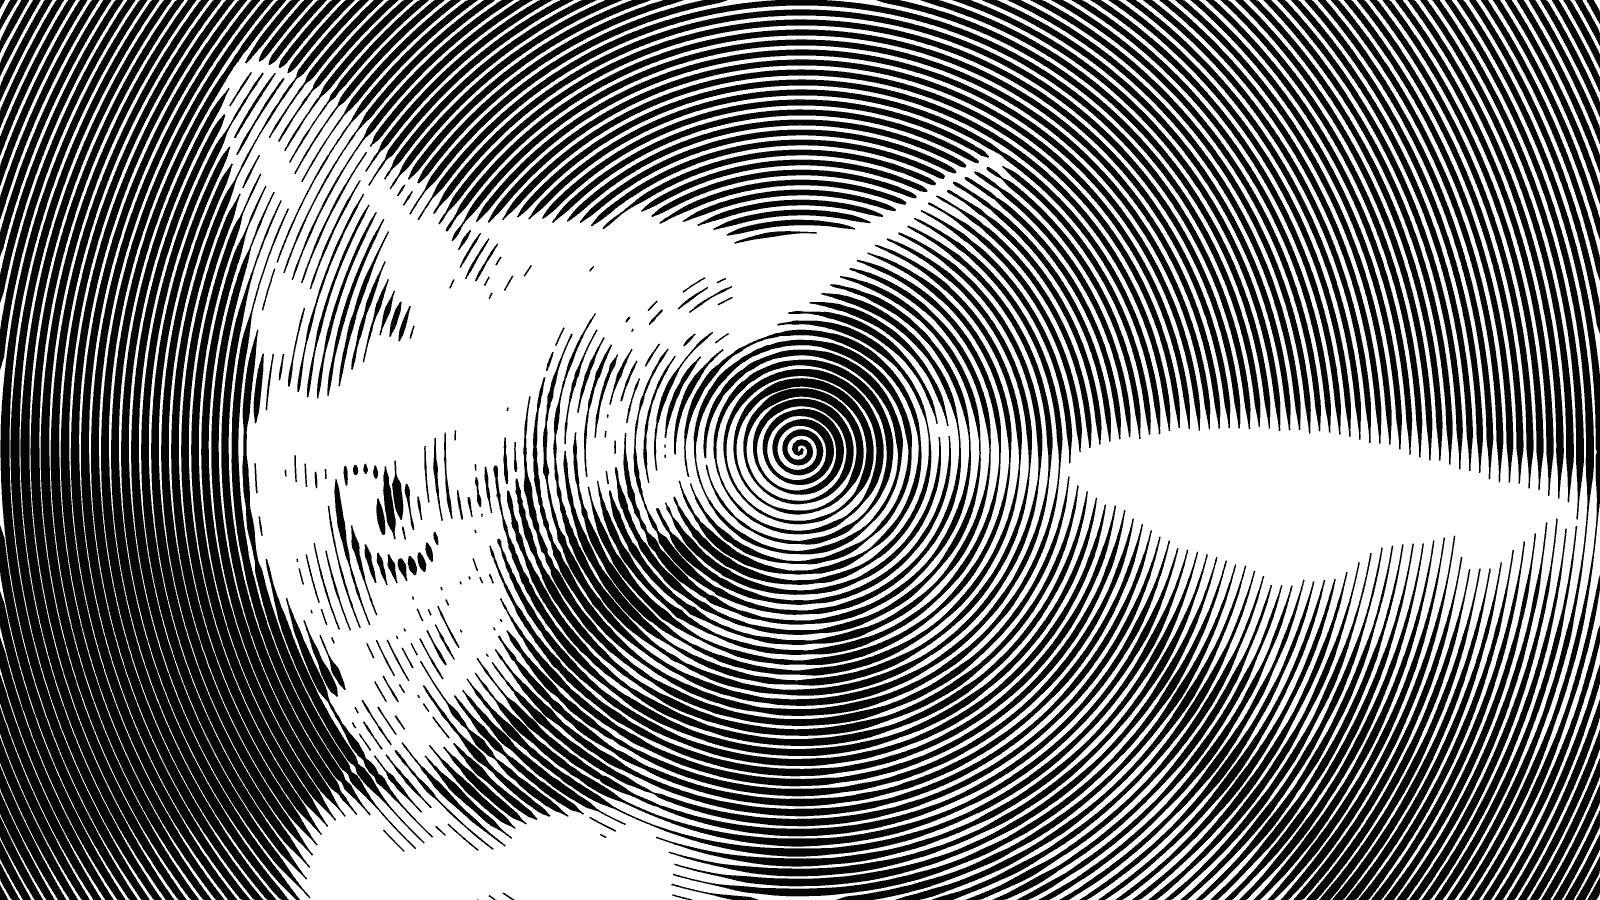

How a photo becomes lines
A line screen draws the photo with one pattern of lines, 1 mm apart by default (1.5 mm with Wave). With Line width, lines thicken where it is dark, and parts thinner than Thinnest line are left out or widened, so light areas stay clean. With Wave, each line is one pen stroke that wiggles more in the dark.
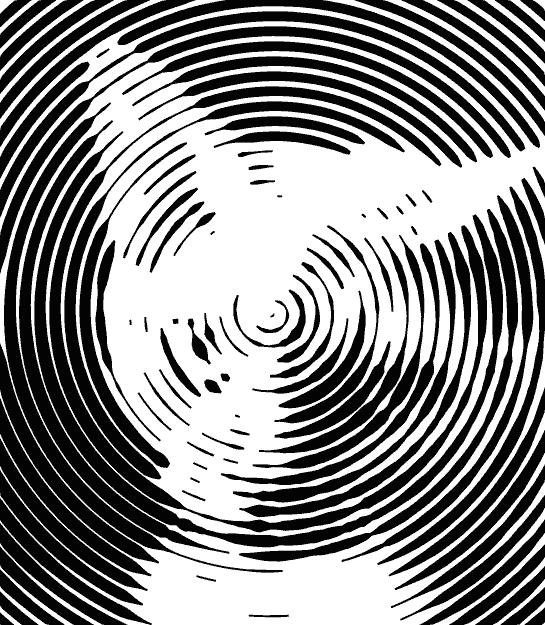
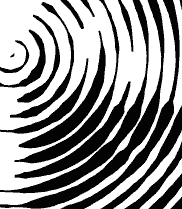
Spiral
One line winds out from the center, so the subject belongs in the middle. With Wave, a pen plotter draws it in one stroke until the turns reach the nearest edge.
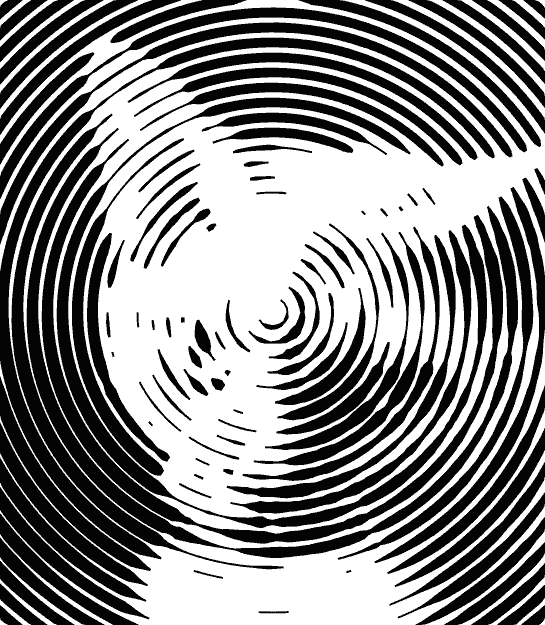
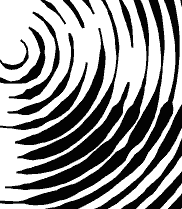
Rings
Circles around the center of the picture, a good fit for round pieces such as coasters and plates.
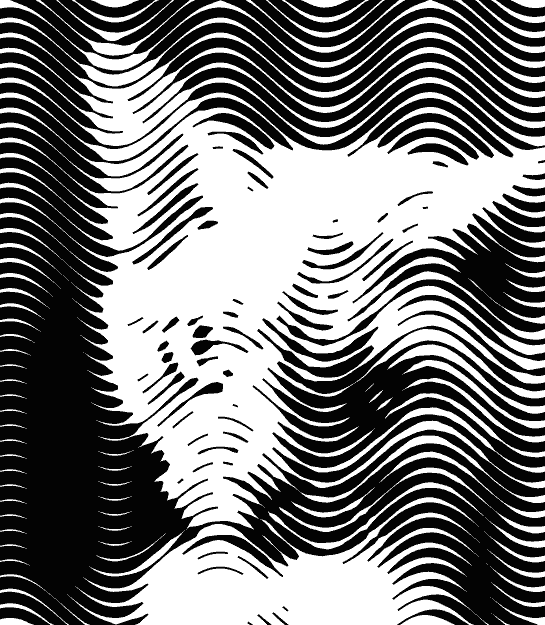
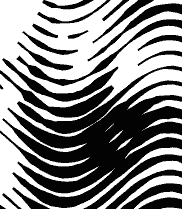
Waves
Every line bends in the same gentle curve, so neighboring lines never cross. A softer look than straight lines.
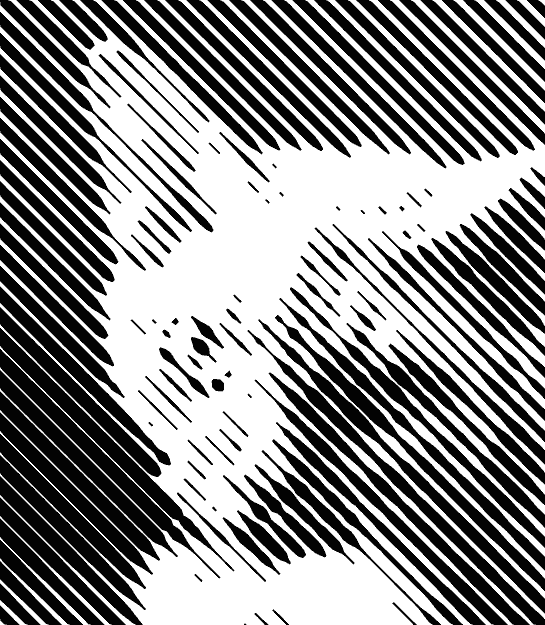
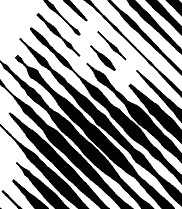
Straight lines
Parallel lines at any angle you set, here 45°, like the shading in an old engraved print. They suit buildings and objects with hard edges.
Why make line screens with Laserlinez
Input - JPG or PNG
Portraits, pets and objects. Good light and a simple background keep the lines readable.
Machine - laser or pen plotter
Pick your saved laser or one of 17 presets to set the thinnest line. For a pen plotter, set Stroke width to your pen's line width.
Output - SVG or DXF
You get filled lines to engrave or single strokes to plot, at the exact width you entered.
Privacy - in your browser
Your photo is converted on your device and not uploaded. No watermark and no limit on photos.
What you download
SVG - SVG in millimeters
Line width: filled outlines on an ENGRAVE layer; use Fill in LightBurn. Wave: strokes on a PLOT layer for a pen plotter or the laser's Line mode.
DXF - DXF (R12)
The same lines and layers in millimeters: closed polylines for Line width, open polylines for Wave. Opens in LightBurn and CAD software.
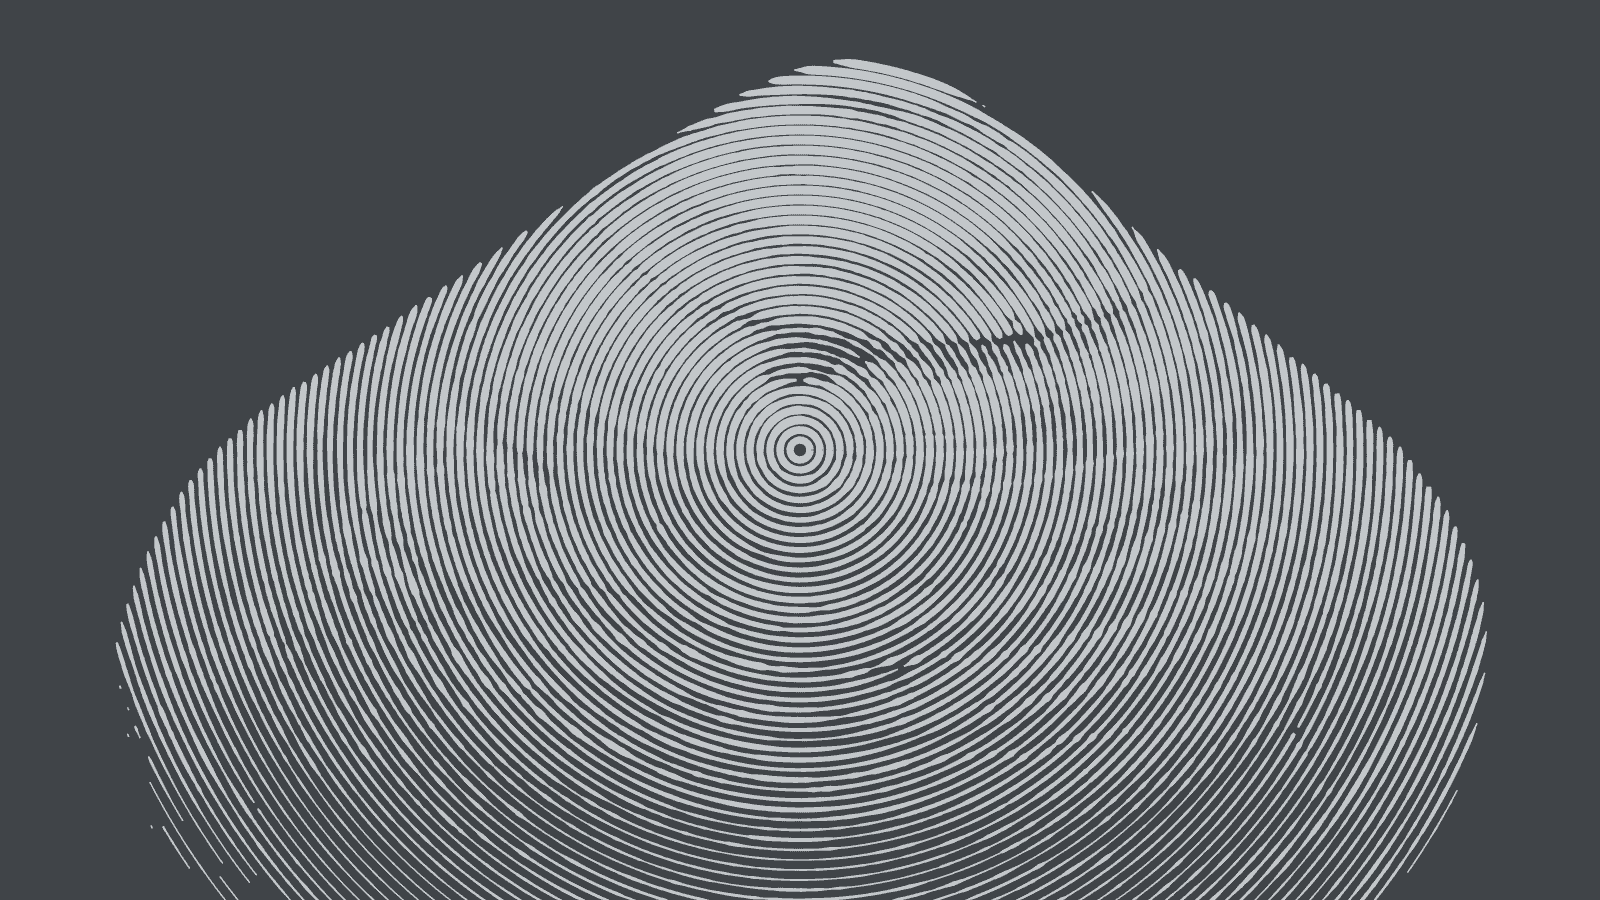
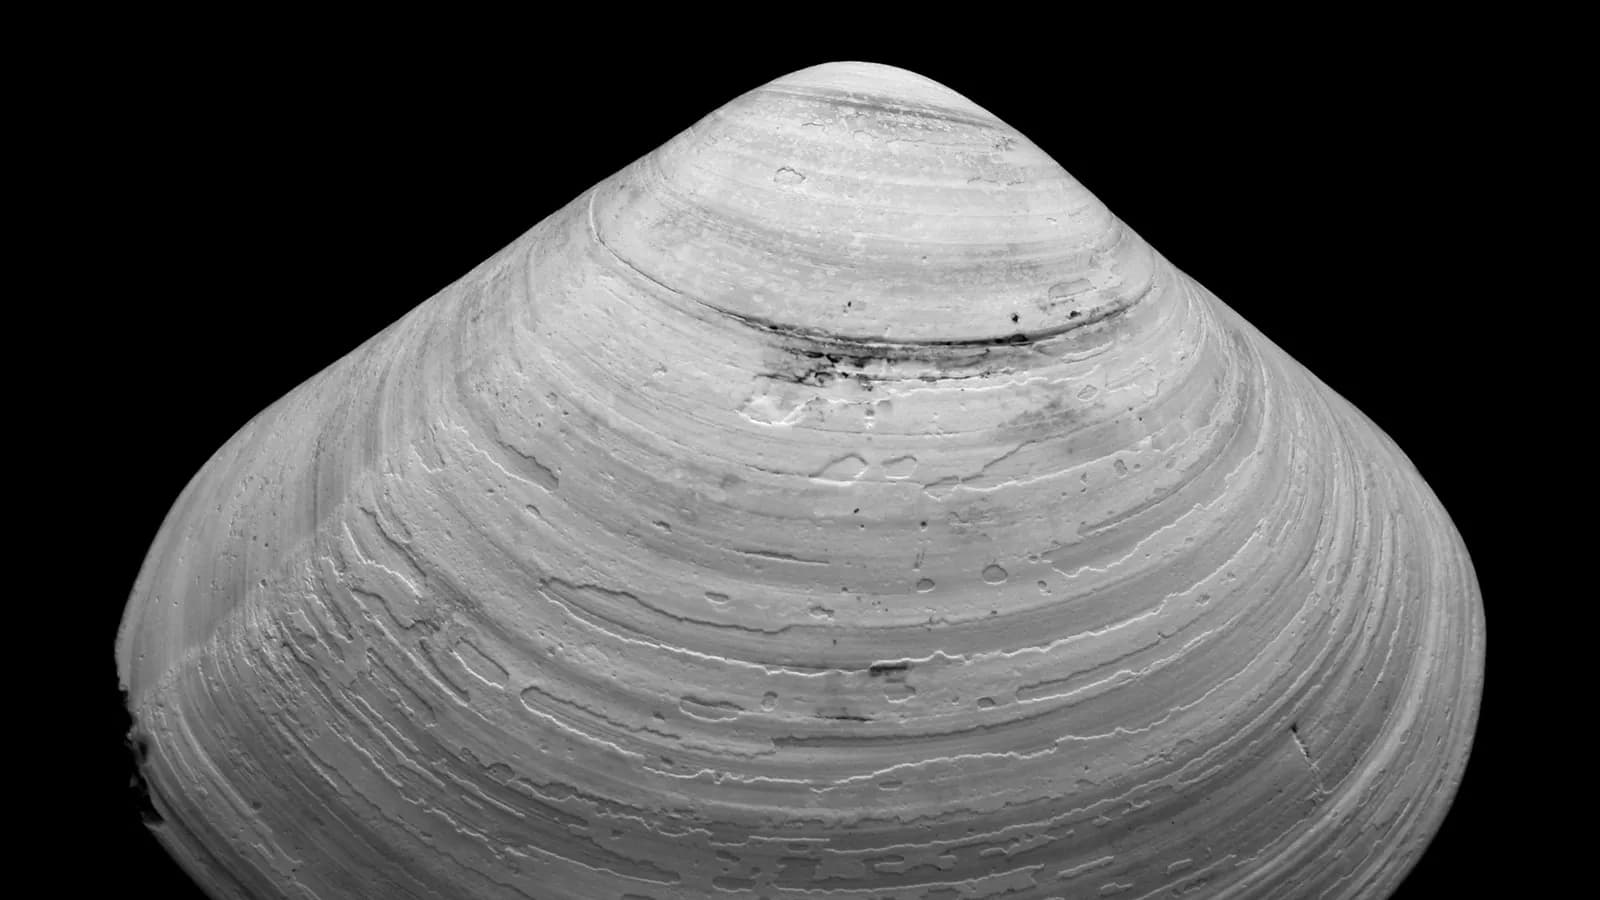
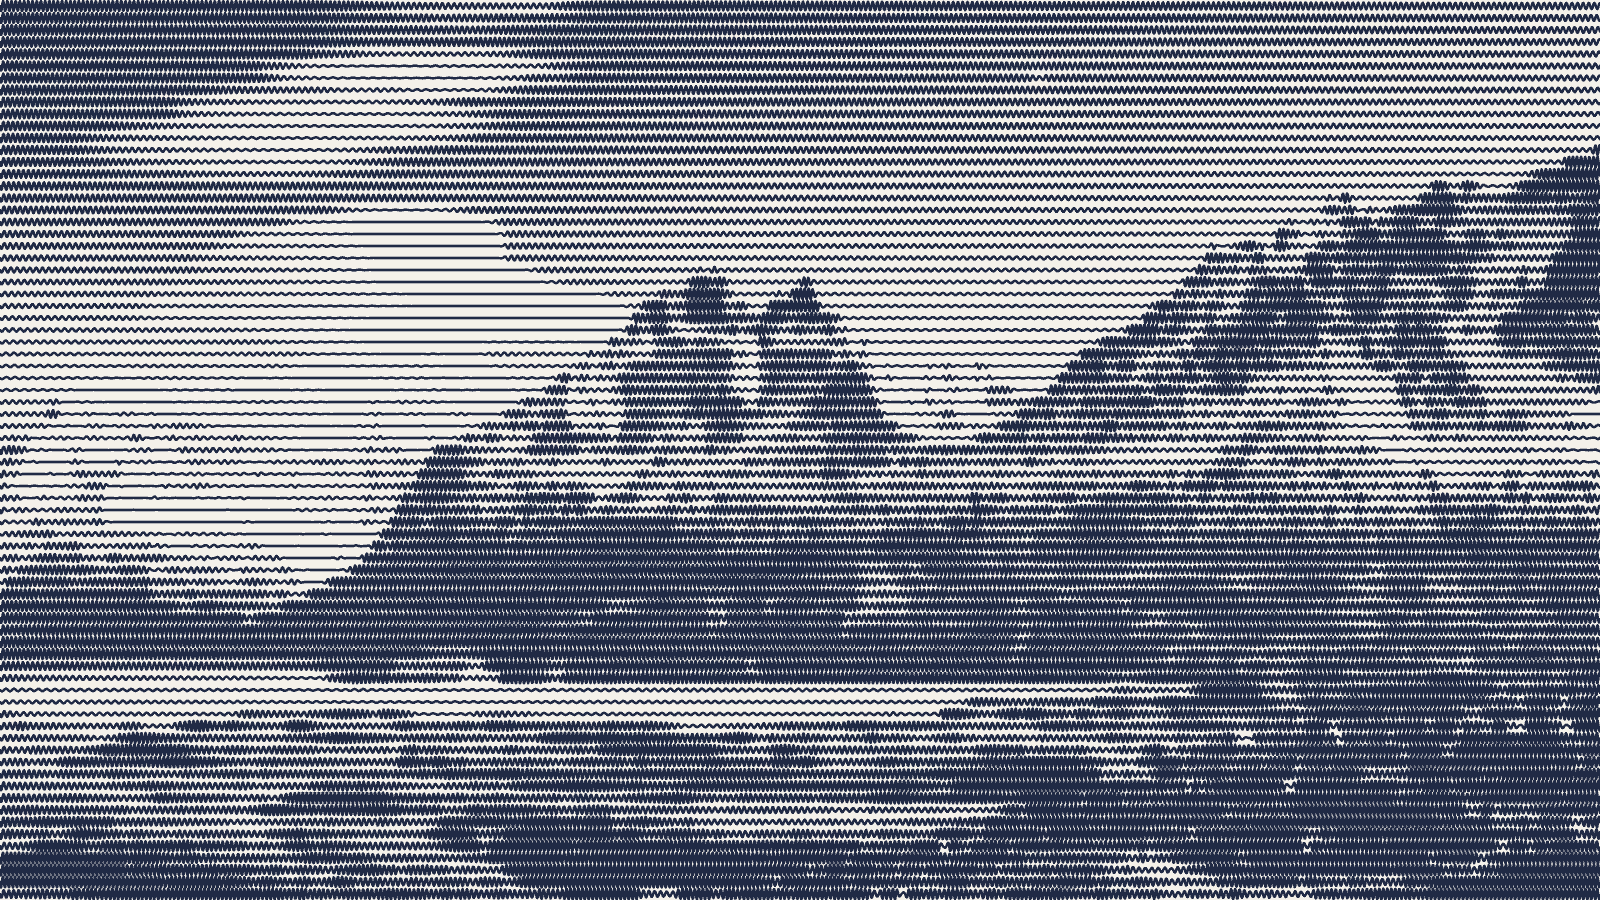
Rings on slate and wavy lines on paper
On slate, Invert burns the lines where the photo is light. On paper, Wave turns each straight line into one wavy pen stroke. Both pictures are simulated.

How it works
- 1
Upload a photo
Use a JPG or PNG. For a spiral or rings, crop it so the subject is in the middle.
- 2
Choose the pattern, then Line width or Wave
Enter the width in mm. Under Tone, pick Line width to engrave or Wave for a pen plotter, and fine-tune the spacing.
- 3
Download, then engrave or plot
Download with a free account. In LightBurn, use Fill for Line width and Line for Wave; on a pen plotter, plot the PLOT layer.

Need lines that follow the shapes of the photo?
Popular line screen projects
Spiral portraits on wood
Start with turns 1 mm apart on birch or maple and engrave with Fill. For large pieces, widen the spacing for a bolder look.
Round coasters and plates with rings
Engrave the rings with Fill on wood, or turn on Invert for slate, where the lines burn light.
Pen plotter portraits with a wave spiral
Crop the photo square to keep more of the spiral in one stroke, and use 1.5 to 2.5 mm spacing with a fine-tip pen.
Wavy lines on leather and cork
Waves give a softer look on leather patches and cork coasters, with lines that still thicken in the dark parts.
Straight lines for buildings and tools
Strong light and hard edges read well in parallel lines. The link starts at 0°; set Angle to 45° for diagonal lines.
Plot it with G-code
If your pen plotter runs GRBL or Marlin, SVG to G-Code (Beta) turns the wave strokes into G-code at the same size.