Free Photo to Laser Engraving Converter
Upload a photo, pick your laser and material, and download a 1-bit PNG or BMP at your laser's DPI and the exact width in mm. Each pixel is one burned dot, ready for LightBurn's Pass-Through mode.
- Resolution from your laser's burn width, so dots touch without overlapping
- Material presets for wood, slate, anodized aluminum, coated metal and leather
- 15 dithering methods with a live preview
Free: preview without an account, download with a free account
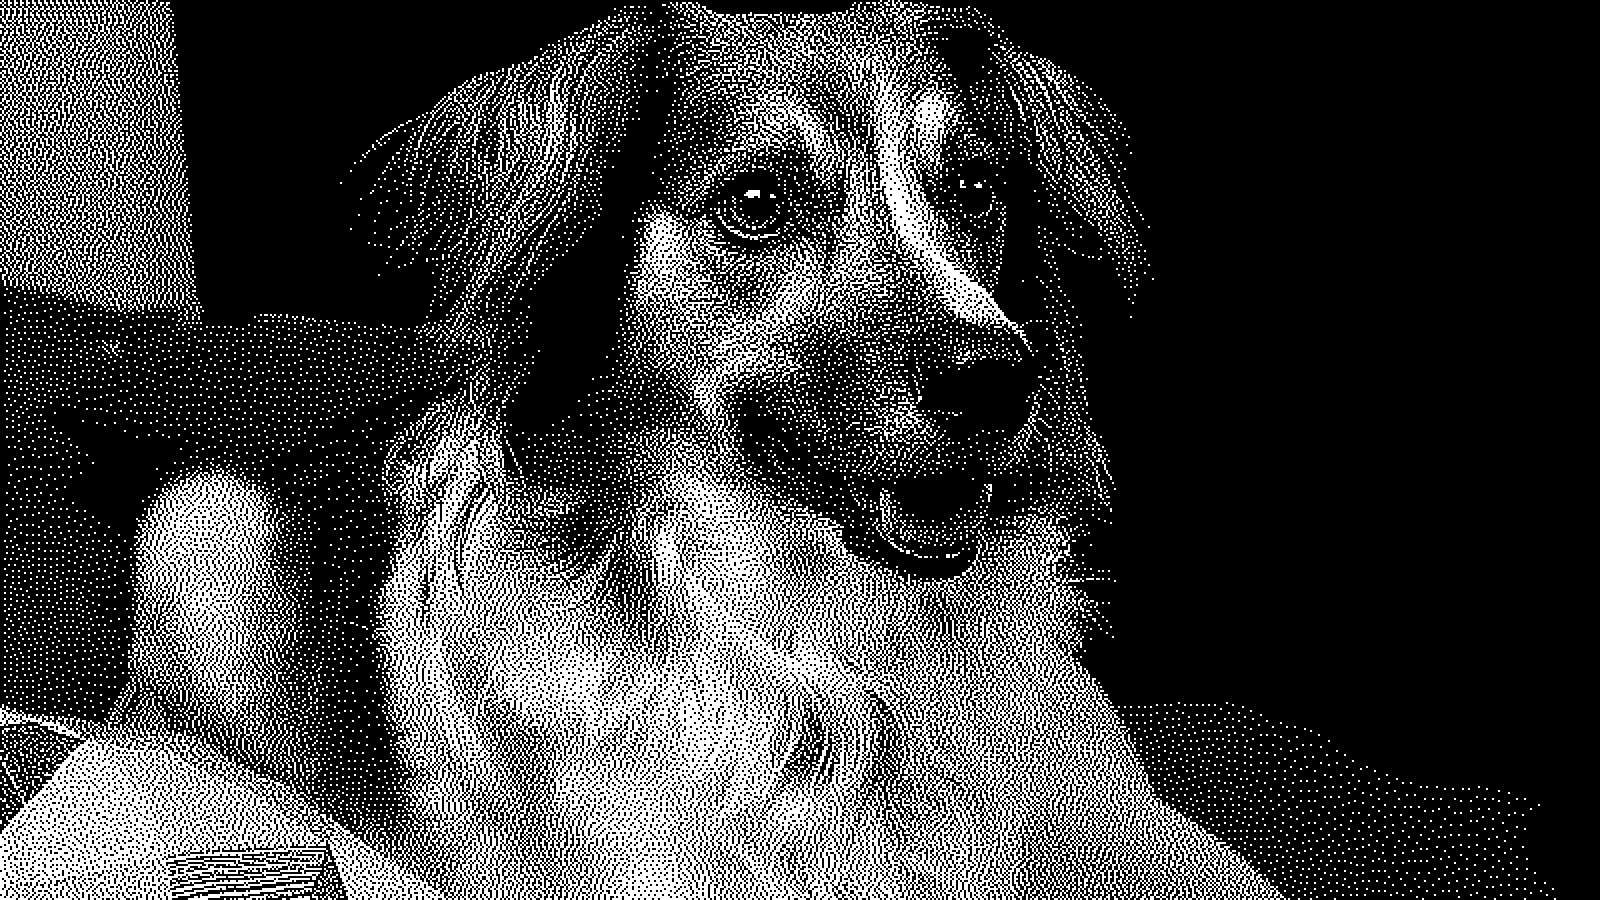
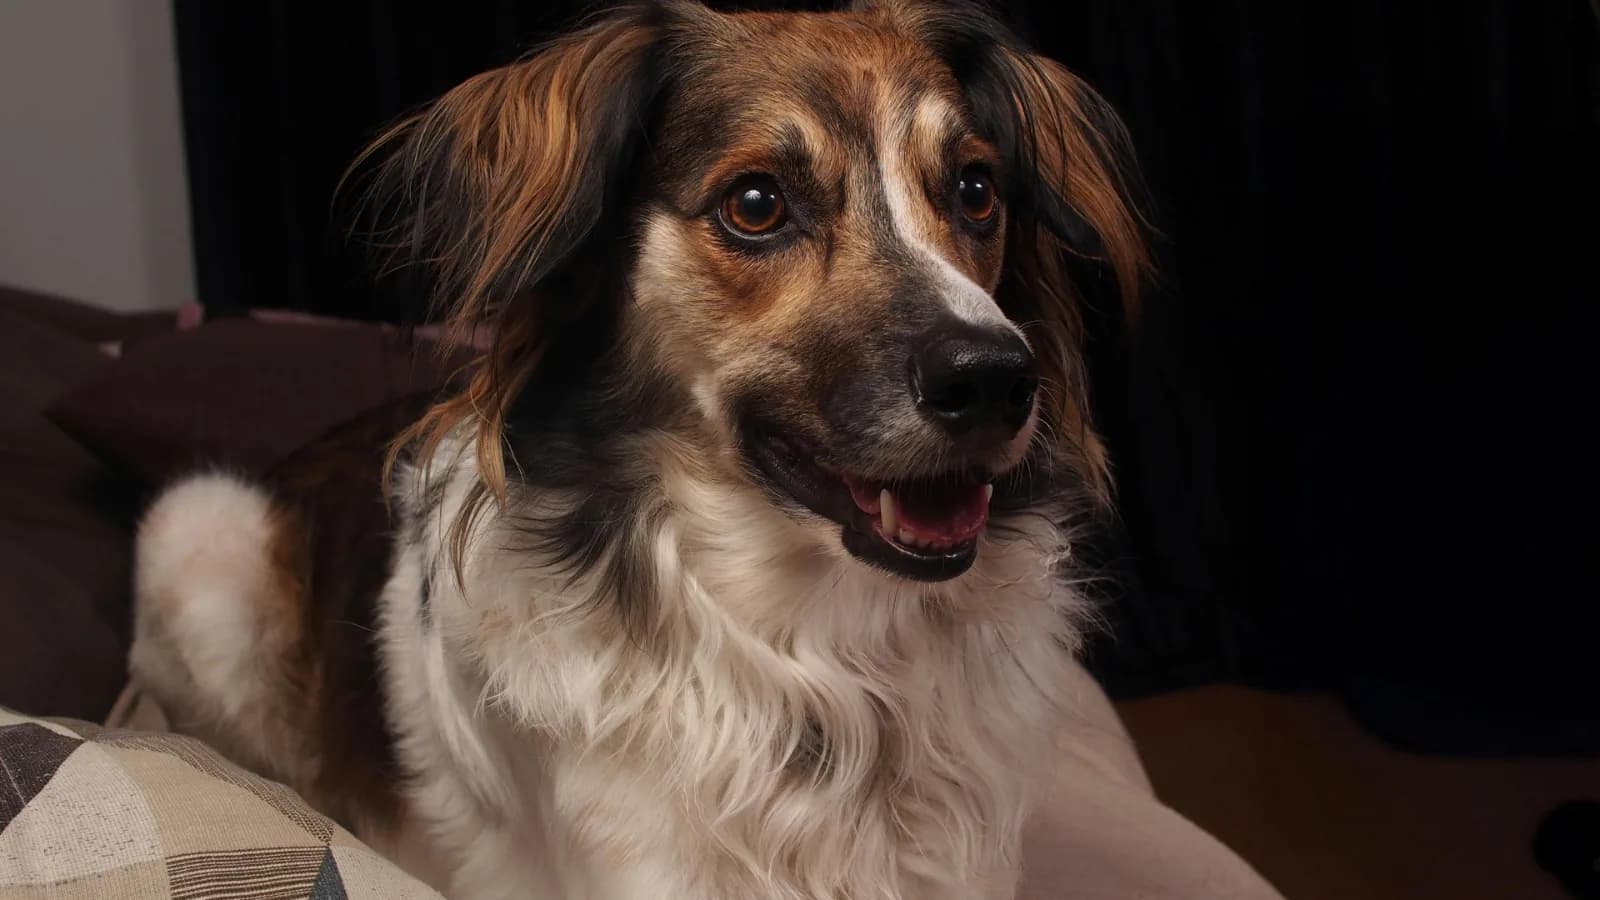
How a photo becomes a laser engraving file
A laser burns a spot or skips it, so dithering turns gray tones into dots. Laserlinez builds the file at the exact width you enter and at your laser's DPI, so one pixel is one burned dot. The material you pick sets Invert and suggests three dithering methods.
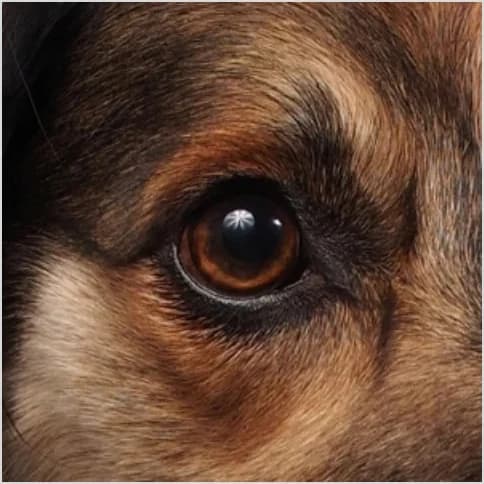
Original photo
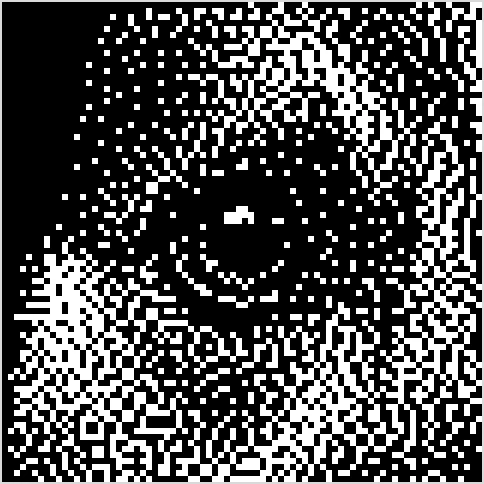
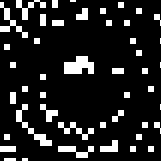
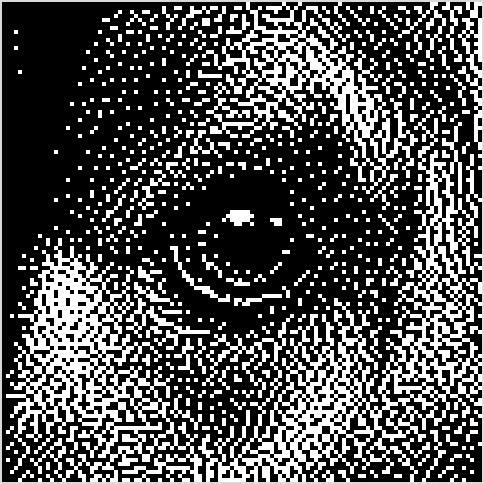
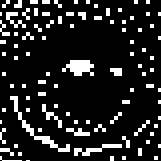
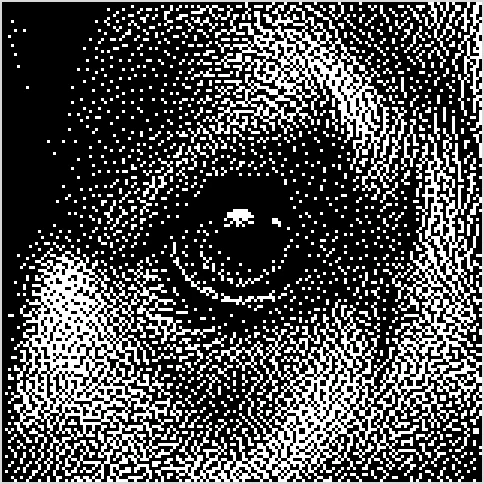
A 12 mm wide detail, shown below as a 1-bit file at three DPI settings.
169 DPI (0.15 mm)
The default for a 0.15 mm burn width: one pixel per burned dot, so the dots just touch.
254 DPI (0.10 mm)
More fur detail, but a 0.15 mm burn overlaps at this spacing, so Burn spread lightens the mid-tones.
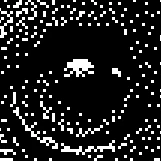
339 DPI (0.075 mm)
Finer than a diode or CO₂ laser burns on wood, so the dots merge. Use it only if your laser marks this fine.
Why prepare photos with Laserlinez
Input - JPG or PNG
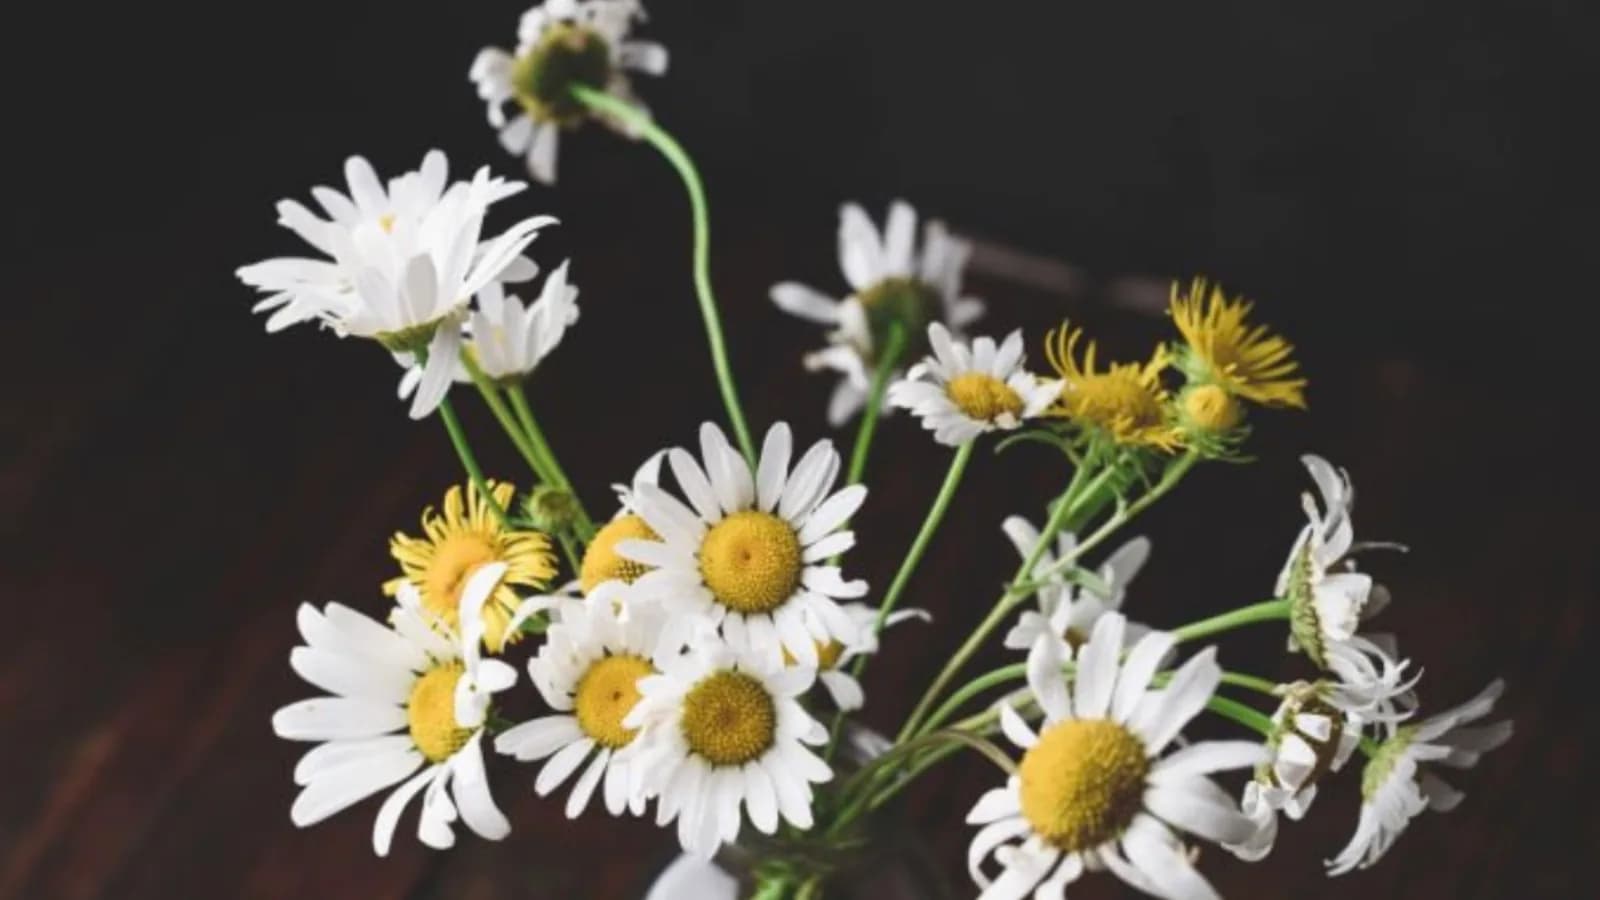
Portraits, pets, flowers and landscapes. A clear subject with good contrast engraves best.
Machine - your laser's DPI
Pick your saved laser, one of 17 presets or a generic diode or CO₂ laser. It sets the DPI and estimates the engraving time.
Output - 1-bit PNG or BMP
Black means burn, white means skip, at exactly the width you entered.
Privacy - in your browser
Your photo is converted on your device and not uploaded. No watermark and no limit on photos.
What you download
PNG - 1-bit PNG
It stores its DPI, so it imports at its real size. The smaller file and the first choice for LightBurn.
BMP - 1-bit BMP
The same pixels for laser software that only accepts BMP. Check the width after import.
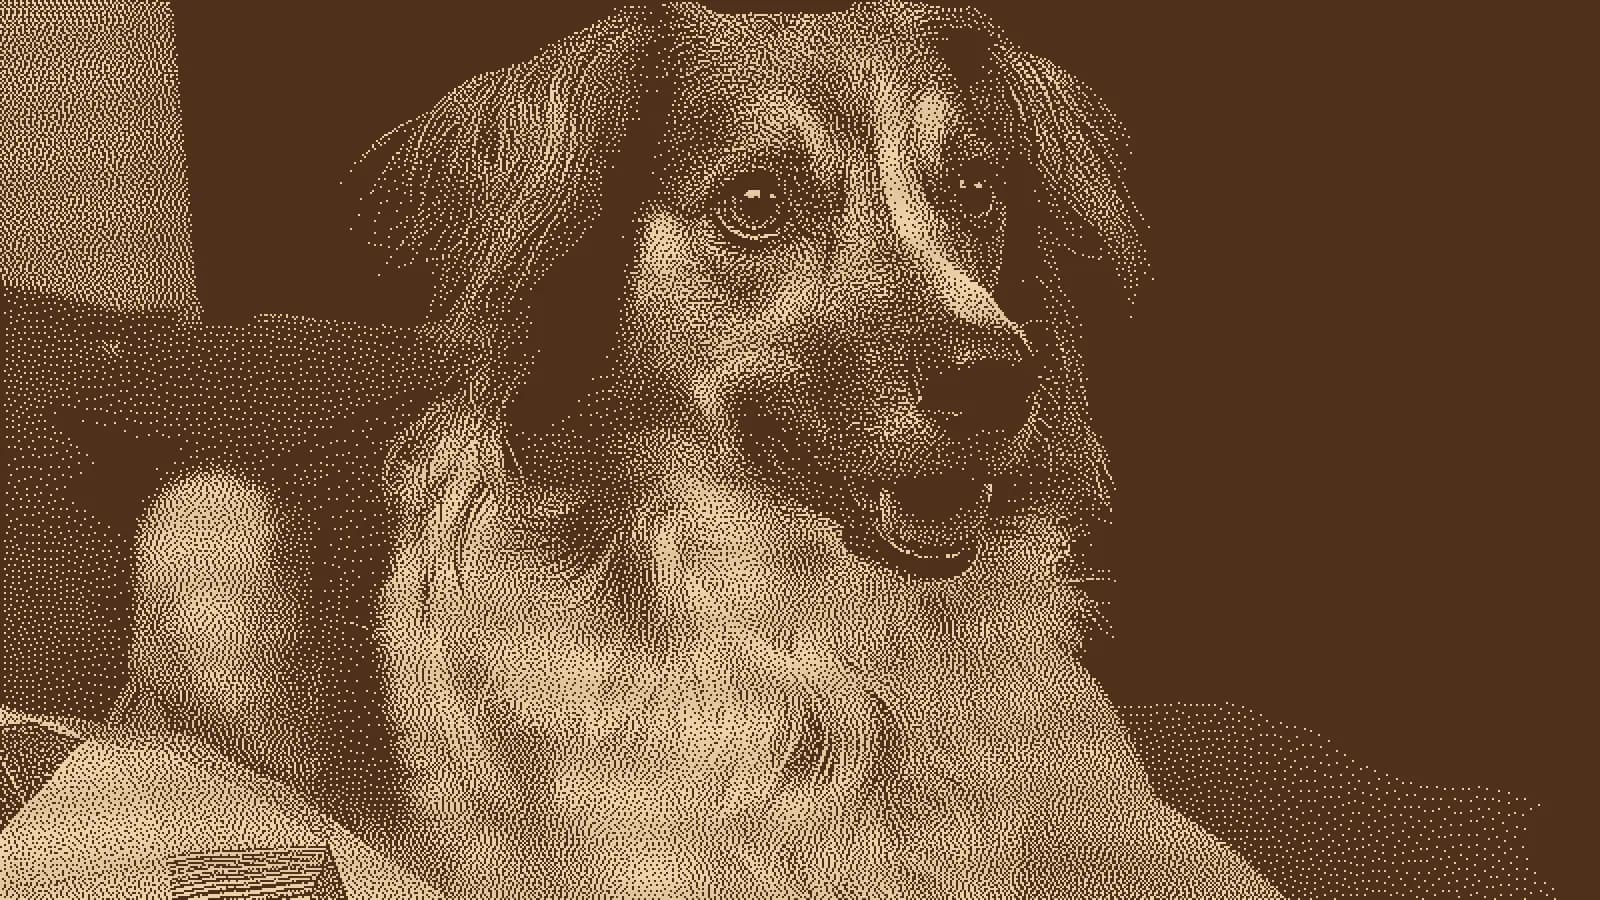
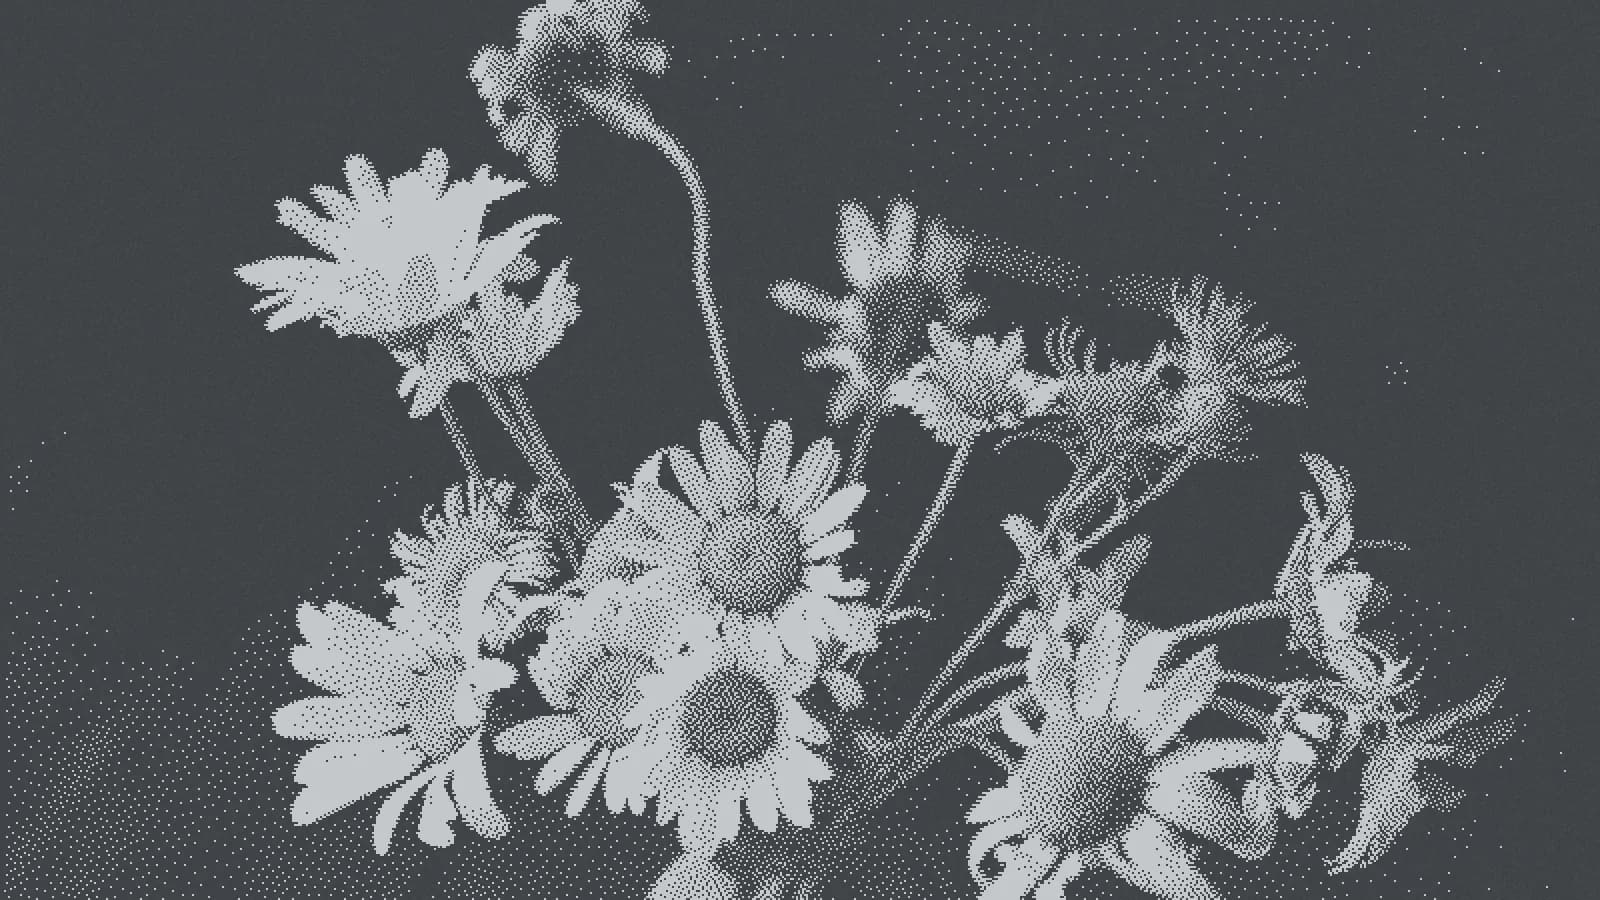
Photos prepared for light wood and slate
Each material starts from its own settings; slate is inverted because the laser turns it light gray. The pictures simulate the result.
How it works
- 1
Upload a photo
Use a JPG or PNG, cropped to the area you want to engrave.
- 2
Set laser, size and material
Enter the width in mm, then tune Brightness, Contrast and the dithering method with a live preview.
- 3
Download and engrave
Download with a free account. In LightBurn, set the image mode to Pass-Through, keep the size and test on scrap first.

Need the photo as vector lines or a cut outline?
Popular photo engraving projects
Pet portraits on wood
Light woods such as birch and maple show fine fur detail. If dark fur turns solid black, raise Brightness.
Memorial photos on slate
Slate burns light gray, so the photo is inverted for you. Wipe the stone with oil afterward for deeper contrast.
Anodized aluminum cards and tags
Black anodizing marks white, so the photo is inverted. For small pieces, try 318 DPI and test first.
Tumblers and mugs
The laser exposes bright steel under the powder coat. Use a rotary attachment and enter the width you measured.
Leather patches and wallets
Leather darkens like wood but marks quickly. Test power and speed on an offcut first.
Lines instead of dots
Tonal Line Vectorization draws the photo as vector lines that follow its shapes, ready to engrave or cut.