How Pen Plotters Work
A pen plotter draws vector paths with a real pen. The useful part is not the slogan, but the mechanics behind it: how coordinates become motion, how the pen is lifted and lowered, which file languages are used and why paper, speed and setup change the result.
The shortest correct explanation
A pen plotter is a vector drawing machine. It follows coordinates, moves a pen to the start of a path, lowers the pen, draws the path, lifts the pen and repeats.
That sounds simple because it is. What separates a clean professional plot from a disappointing one is everything around that loop: motion control, pen handling, file preparation and media stability.
If you keep that model in mind, most pen-plotter advice becomes easier to judge. The question is always the same: what helps the machine place the pen in the right spot, at the right speed, with the right contact on the paper?
- Read vector geometry
- Travel to the start point with the pen up
- Lower the pen and draw the stroke
- Lift the pen and move to the next stroke
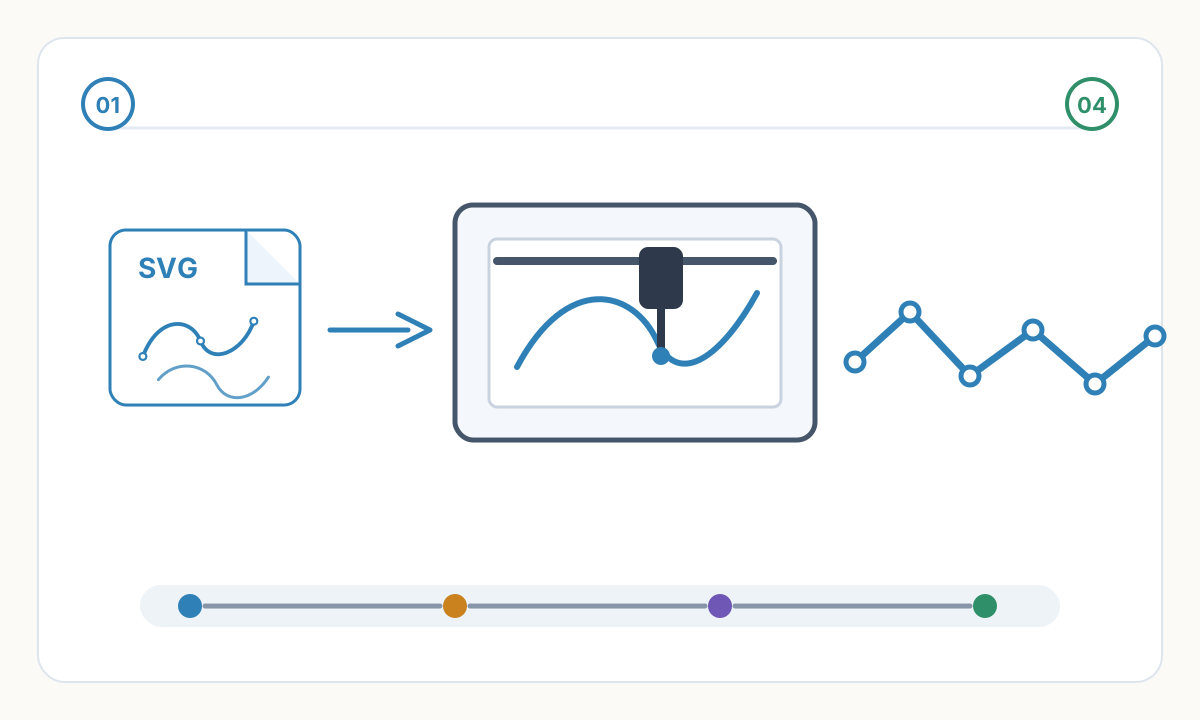
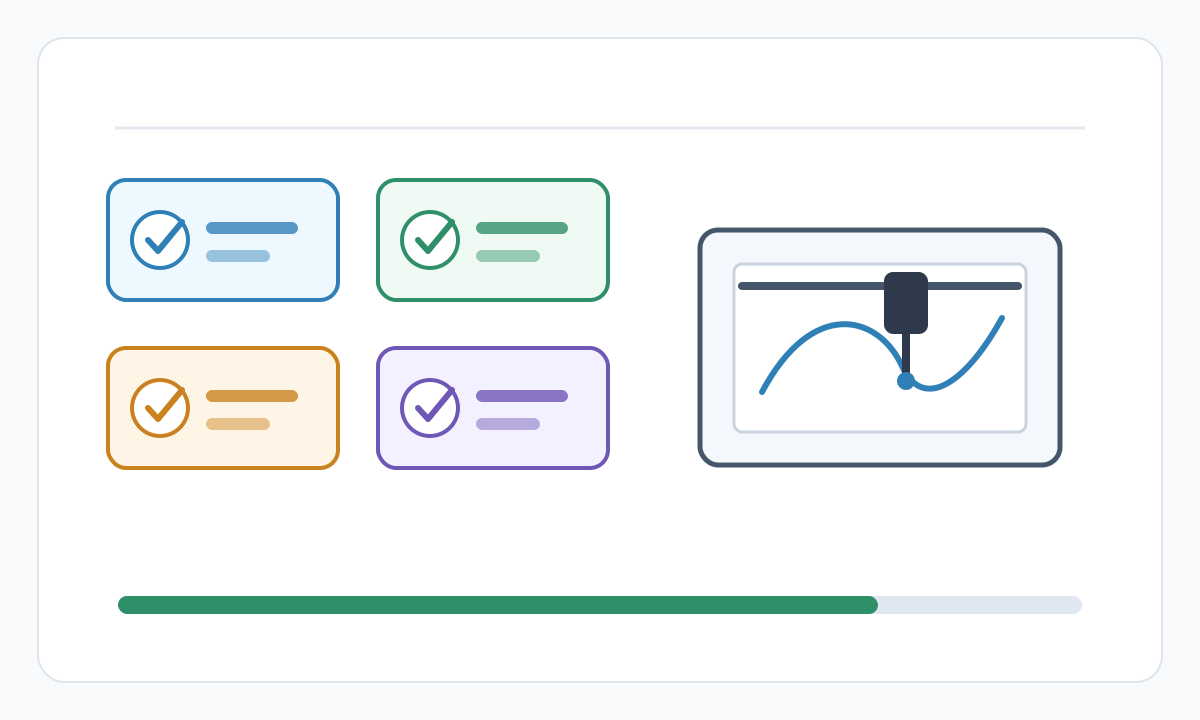
A pen plotter is closer to an automated drafting hand than to an inkjet printer. The file defines the route, the mechanism follows it and the real pen and paper determine the final mark.
What happens during a real plot job
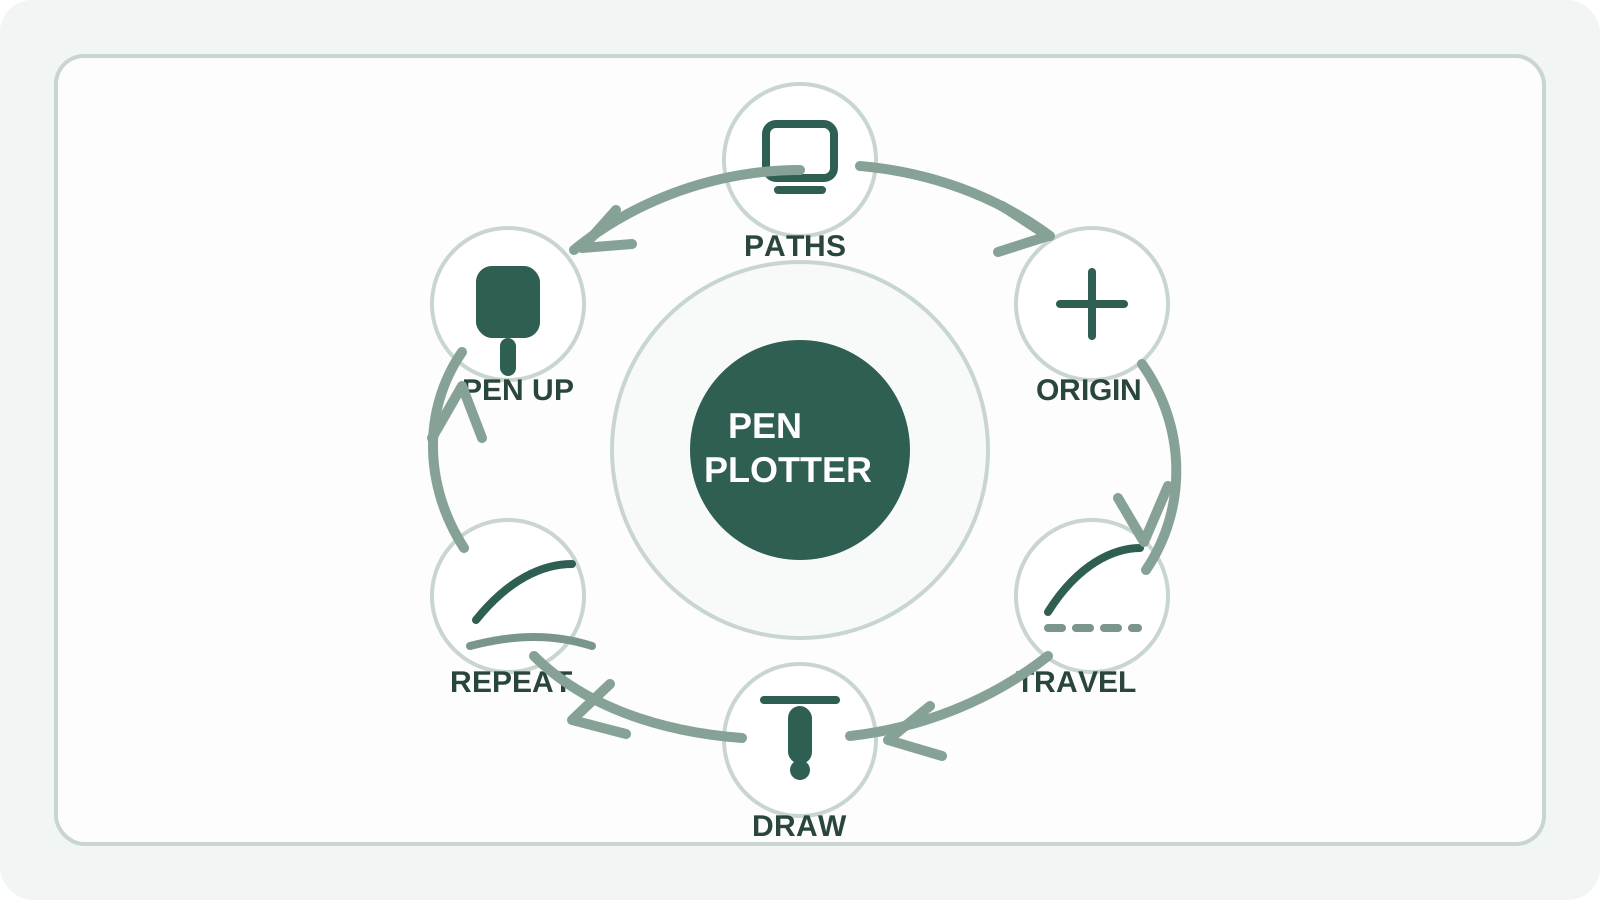
- 1
Prepare usable vector paths
The artwork has to become explicit geometry. Text, fills, effects and appearance-only strokes often need to be converted into paths before a plotter can draw them predictably.
- 2
Home the machine and set the origin
The controller establishes where zero is, checks its limits and aligns the job to the page or bed. If the origin is wrong, everything after that is wrong.
- 3
Alternate pen-up travel and pen-down drawing
The machine moves quickly between paths with the pen raised, then lowers the pen for each actual stroke. The controller also applies speed and acceleration limits while doing this.
- 4
Repeat by layer, pen, or color
Longer jobs are usually organized by layers or grouped paths. That makes it easier to swap pens, control draw order and keep registration consistent.
The main parts that make the system work
Most pen plotters are XY machines. A motion system moves the pen carriage, a lift mechanism raises and lowers the pen and a controller turns incoming geometry into timed motor movements.
The paper path matters just as much as the motors. On a flatbed the sheet stays fixed and the carriage moves over it. On roll-fed or drum-based systems the machine also has to advance the media accurately.
Precision is never just about motor resolution. Frame stiffness, belt tension, guide quality, pen mounting and whether the sheet slips all show up in the drawing.
- Controller: interprets commands and plans motion
- X and Y motion system: belts, screws, rails, or rollers
- Pen-lift mechanism: usually servo, cam, or solenoid driven
- Pen holder: keeps height and contact consistent
- Media handling: clamps, tape, pinch rollers, or vacuum hold-down
Long-plot errors are often caused by media movement, humidity-driven paper expansion, or inconsistent pen setup, not just by the motors themselves.
Flatbed, roll-fed and hanging plotters are not equal
Flatbed plotters keep the sheet in place, which makes them the easiest style to trust for precise registration, layered artwork and technical linework.
Roll-fed or drum-style systems are useful when you need long-format output, but they add another variable: the media has to advance accurately for the entire job.
Hanging or cable-driven plotters can cover very large walls at relatively low cost, but they usually trade away repeatability and rigidity compared with a stable flatbed.
- Flatbed: best default for accuracy and repeatable registration
- Roll-fed or drum-based: useful for long continuous media
- Hanging or cable-based: large drawing area, lower mechanical stability
How files become machine motion
Not every pen plotter speaks the same language. Some desktop machines plot SVG through host software that handles motion planning internally. Many DIY or CNC-style plotters use G-code. Older drafting and office plotting workflows commonly used HP-GL or HP-GL/2.
Those formats all describe movement and pen state in different ways, so you should not assume that one plotter can read another plotter's files directly.
What stays constant is the conversion step: the machine needs clean paths, correct scale and a command stream that its controller actually understands.
- Input artwork is cleaned and converted to explicit paths
- The plotting software sets scale, origin and draw order
- The host software or exporter produces SVG-driven motion, HP-GL or HP-GL/2, G-code, or another vendor format
- The controller executes those moves with speed, acceleration and pen-lift rules
Do not assume that all plotters are G-code machines. File compatibility depends on the controller and software stack, not on the fact that the machine holds a pen.
What makes a file plotter-friendly
- Reasonable node count so curves stay smooth without forcing thousands of tiny moves
- Joined or logically merged paths to reduce unnecessary pen lifts
- Correct page size, scale and origin placement before export
- Separate layers when you need pen swaps, colors, or different settings
- No duplicate geometry unless deliberate overdraw is part of the design
- Text converted to paths when font consistency matters
- Previewed draw order so long pen-up travel is caught before plotting
- Centerline geometry where appropriate instead of appearance-only strokes
What really changes line quality
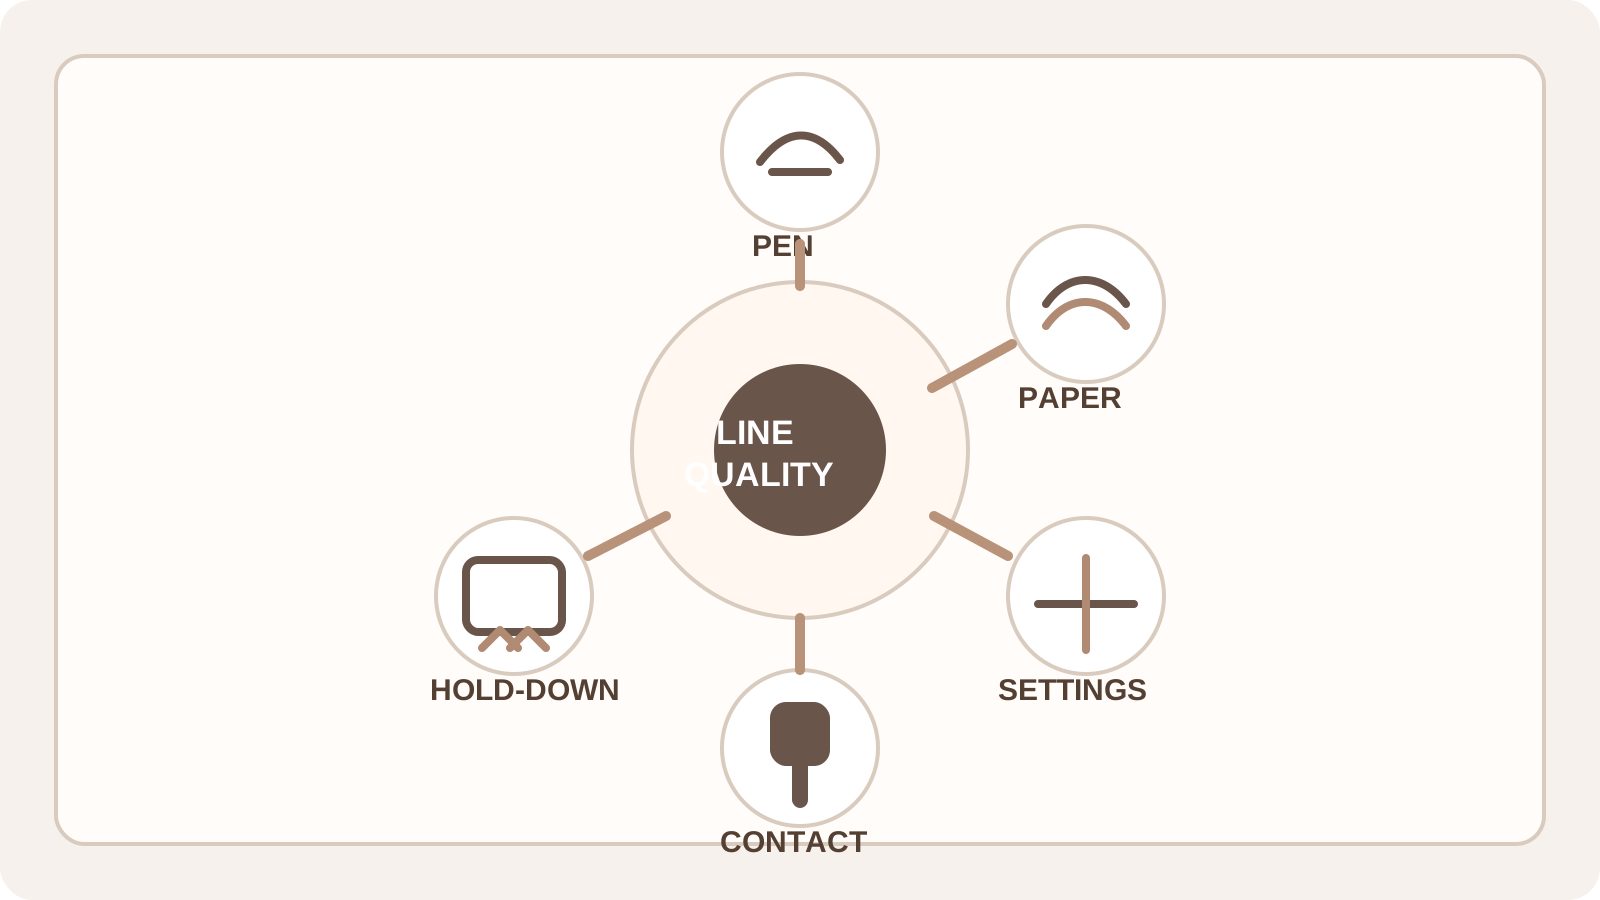
The final line is physical, not virtual. Tip shape, ink flow, paper texture and absorbency matter at least as much as the SVG on your screen.
Speed and acceleration matter because the pen is a real tool with drag and inertia. Corners that look shaky, over-dark, or hooked often point to motion settings or pen contact problems before they point to bad artwork.
Pen height and pressure also matter. Some machines only toggle between pen up and pen down, while others let you tune pen-down height or related settings by layer or pen. Mixed pens often need different treatment.
Pre-flight checks before a long plot
- Run a small corner or detail crop before committing the full sheet
- Confirm the page size and origin match the physical setup
- Tape, clamp, or otherwise secure the media consistently
- Check that the pen is seated to a repeatable height
- Slow down if corners blob, hook, or visibly vibrate
- Keep the file clean: remove duplicates, hidden junk and accidental overlaps
- Use the same pen and paper combination for tests and final output
- If registration matters, avoid moving the sheet between passes
Where Laserlinez adds value
A plotter can only execute the geometry it receives. If the source image becomes a messy vector full of redundant nodes, broken paths, or accidental overlaps, the machine simply turns those problems into slower and uglier motion.
Laserlinez helps earlier in the workflow: we turn photos, scans and rough graphics into cleaner SVG masters that are easier to simplify, reorder and prepare for plotting.
That does not replace machine tuning, but it removes one of the biggest avoidable problems: sending low-quality vector structure into a physical drawing system.
Comments
Loading comments...