Multi-Color Pen Plotting Techniques
Learn the workflow that matters most: separate layers cleanly, keep the sheet fixed, swap pens consistently and test overprints on the same paper you plan to use for the final plot.
What Multi-Color Plotting Actually Requires
Most multi-color pen plots are produced one layer at a time: one pen, one layer, then a controlled pen swap. AxiDraw's layer workflow and vpype's multilayer export tools both support this approach and it is the safest way to keep the artwork organized.
Good results depend on three things staying stable for the entire session: the plotter's XY position, the sheet's position on the bed and the pen tip's position in the holder. If any one of those shifts, the next color will not land where the first one did.
Treat the physical setup as part of the design. Screen colors do not tell you how two real pens will overlap, whether a nib will flex, or whether a paper surface will feather. Multi-color plotting gets predictable only after the actual pen and paper combination has been tested.
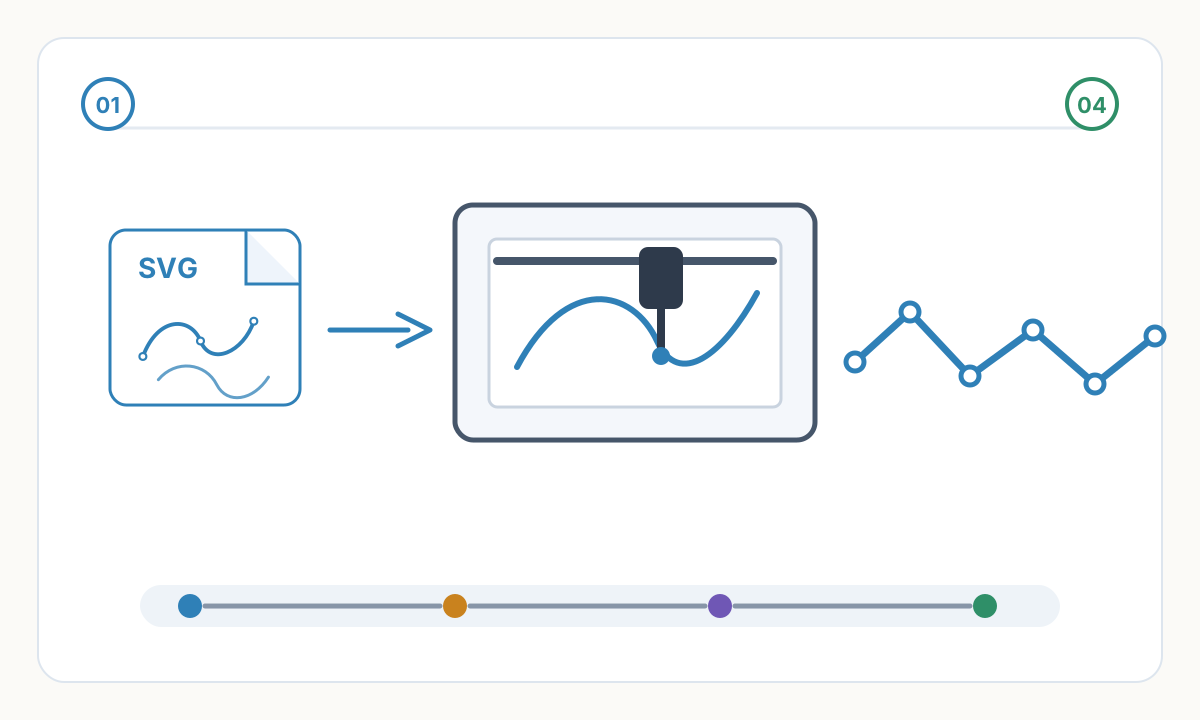
Start with two colors, two pens from the same family and a smooth heavy paper or stable film. That gives you the best chance of learning registration before you add more variables.
Where Registration Errors Really Come From
The obvious failure mode is moving the sheet or bumping the machine during a pen change. Less obvious is losing motor position. Evil Mad Scientist explicitly recommends keeping the XY motors energized for the entire plotting session, because once they are de-energized you cannot assume the next layer will start from exactly the same coordinates.
Pen changes create their own offset. Different pen families often have different barrel diameters, different nib centering and different tip flex. AxiDraw's own multi-color guidance recommends using the same family of pen, mounting them vertically instead of diagonally and inserting each pen to a consistent height with light, repeatable pressure.
Paper is not dimensionally neutral. Roland's drafting plotter manuals note that paper expands and contracts as it absorbs moisture from the air, which can cause offset and ink blotting. They also call out drafting film or polyester film as more stable when precision matters. In practice that means letting paper acclimate, avoiding oily fingerprints on the drawing surface and using more stable media for tight registration work.
Registration marks are a diagnostic tool, not a magic fix. Put simple crosshairs or small boxes outside the artwork area on every layer. Check those marks before committing the next color. If they do not line up, stop there and fix the setup before you waste the full plot.
Reliable Multi-Color Plotting Workflow
- 1
Separate the artwork by color and plot order
Build one layer per pen color and name the layers in the order you intend to draw them. If your software or plotter can plot visible or numbered layers, keep everything in one multilayer SVG. If your workflow needs separate files, export one file per layer but keep the same page size and origin in every export.
- 2
Add registration marks and a real swatch area
Place small registration targets outside the final artwork and include them on every layer. Add a tiny overlap test area as well so you can see how your actual pens behave on your actual paper before the main composition commits to those same overlaps.
- 3
Plot the first layer and leave the sheet fixed
Load the paper squarely, tape or jig it if needed and plot the first color. Do not remove the sheet unless your workflow absolutely requires it. Keeping the same sheet fixed in the same session is the single biggest win for registration.
- 4
Swap pens with a repeatable method
Keep the motors energized, insert the next pen to the same height and keep its barrel orientation consistent. A spacer and a small orientation mark on the pen body make this much easier. Before running the full layer, confirm the registration marks still land correctly.
- 5
Sequence layers around smearing and visual priority
A common strategy is lighter fills or broad color fields first and dark outlines last, but there is no universal order. The correct order is the one that avoids re-wetting earlier strokes and keeps the most visually critical edges clean.
Overprinting and Color Mixing: What Is Predictable
Pen layers do not behave like RGB blends on a monitor. They behave more like overprinting: the top stroke may visually combine with what is underneath and the result depends on ink transparency, paper absorption, stroke density and drying behavior. Adobe's overprint guidance makes the same point for print workflows: the apparent transparency depends on the ink, paper and printing method.
That is why physical swatches matter more than digital previews. A cyan-looking marker over a yellow gel pen may produce a useful green on one paper and a muddy edge on another. Build a simple swatch matrix with your real pens and keep it with the project notes.
Tight registration creates controlled composite color. Slight misregistration creates a halo. In technical or map-like work that halo usually reads as an error. In poster-like or zine-inspired work it can be used deliberately as a graphic effect. The key is to decide which outcome you want before plotting, not after the mistake appears.
Limit the palette until the workflow is under control. Two colors plus black is enough to make strong work and dramatically easier to register than four or five independent layers.
If the overlap looks wrong in a small swatch, it will not look better at full size. Fix the pen choice, spacing, or paper before you commit the full sheet.
Low-Risk Setup for Your First Good Two-Color Plot
- Use two pens from the same family before mixing brands or nib types.
- Mount pens vertically and insert them to a repeatable height with a spacer.
- Keep the paper fixed in place for the full session whenever possible.
- Keep the plotter energized instead of powering down between color layers.
- Add registration marks outside the artwork and check them before each new layer.
- Plot a small overlap swatch first so you can judge drying, feathering and overprint color.
AxiDraw can plot numbered layers in order, ignore hidden layers, pause before a layer with '!' and delay before a layer with '+D'. Those controls are useful when a pen change or drying pause needs to happen at a precise point in the sequence.
When Separate Files Make Sense
A single multilayer SVG is usually the cleanest option when your plotter software can select layers directly. It keeps every color in the same page coordinate system and makes it easier to preview the full composition before plotting.
Separate files are still useful in G-code or HPGL workflows, or when your export pipeline expects one pen per file. vpype explicitly supports both approaches: you can save each layer as its own file, color-code layers with pen configurations and optimize path order with tools such as linesort before export.
Whichever route you use, never let page size, origin, or centering change between layers. Registration fails very quickly when one export is silently re-centered or written to a different canvas.
Comments
Loading comments...